
Recording a great interview is only half the battle; the real victory is getting a transcript that doesn’t require hours of “cleanup” because of muffled voices or background hum. For oral history researchers, audio quality isn’t just about convenience—it’s about the integrity of the record. Whether you are using AI or a human service, the quality of your text is directly tied to the quality of your audio.
Here is the interviewer’s guide to capturing audio that guarantees a flawless transcript.
Optimize Your Environment
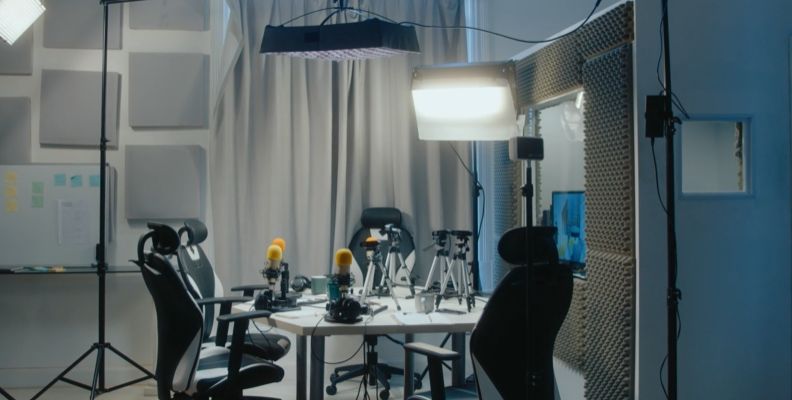
The “room” is your most important piece of equipment. Even the best microphone can’t fix a cavernous, echoey hall.
- Avoid “Hard” Rooms: Large rooms with tile, glass, or bare walls create reverb. Opt for rooms with carpets, curtains, and upholstered furniture to absorb sound.
- Kill the Ambient Noise: You might not notice the hum of the AC, the whir of a computer fan, or the distant traffic, but your microphone will. Turn off non-essential electronics and close the windows.
- The “Room Tone” Trick: Record 10 seconds of silence before you start. This “room tone” helps editors (and AI) identify and subtract background noise from the speech.
Choose the Right Gear
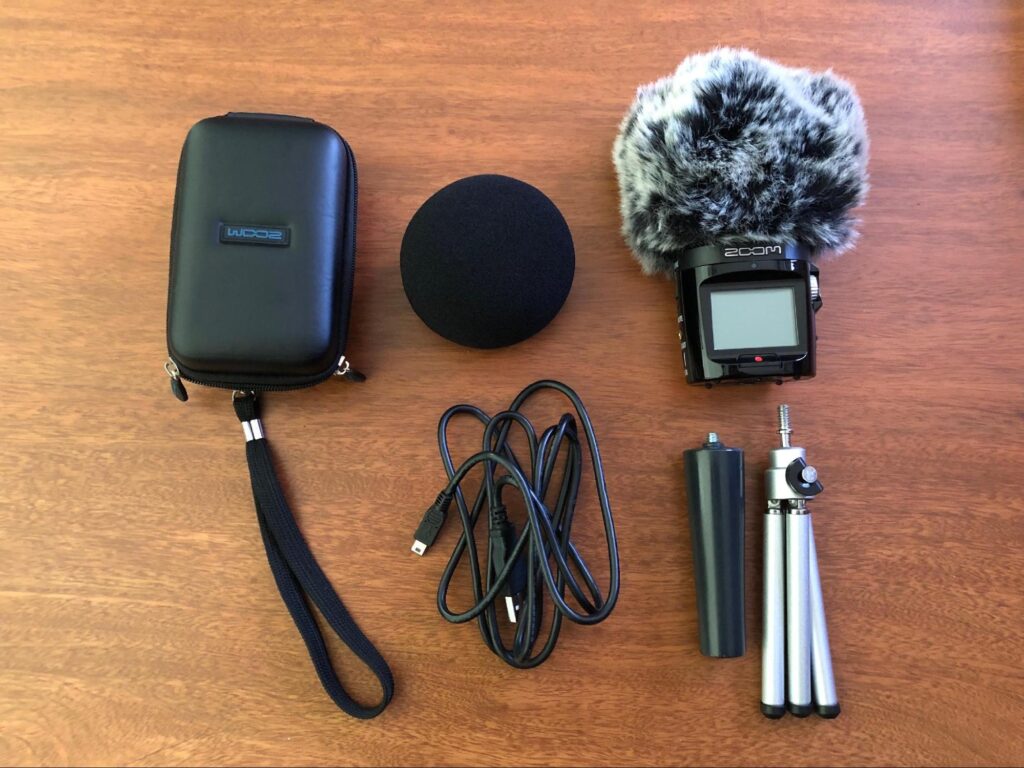
Your laptop’s built-in microphone is designed for utility, not clarity. For professional results, you need a dedicated tool.
| Gear Type | Best For | Pro Tip |
| Lavalier (Lapel) Mic | 1-on-1 Interviews | Clips to clothing for consistent volume even if the speaker moves. |
| USB/Podcast Mic | Remote Interviews | Mics like the Blue Yeti or Samson Q2U offer studio-quality depth. |
| Digital Recorder | In-Person/Field | Devices like the Zoom H1n or Sony ICD-UX570 are more reliable than phone apps. |
Mastering Microphone Technique
Placement is just as important as the device itself.
- The Fist Rule: For a stationary mic, keep it about 4–6 inches (one fist-width) away from the speaker’s mouth.
- Off-Axis Positioning: Point the mic slightly toward the corner of the mouth rather than directly in front. This prevents “plosives”—those harsh popping sounds from “P” and “B” words.
- Avoid the Table: If using a desk mic, place it on a towel or a shock mount. This stops the microphone from picking up every “thud” when someone taps the table or moves a coffee mug.
Ground Rules for the Speakers

Transcription software (and human ears) struggle with “overtalk.” Set these expectations before you hit record:
- One at a Time: Ask participants to wait a beat after someone finishes before jumping in. Overlapping voices are the #1 cause of “unintelligible” tags in transcripts.
- Identify Yourself: In group settings, have everyone say their name before their first point. This makes speaker labeling a breeze.
- Spell it Out: If a speaker mentions a niche technical term, a rare brand, or a complex name, ask them to spell it for the record.
Technical Safety Nets
Never let a technical glitch ruin a once-in-a-lifetime conversation.
- Monitor with Headphones: If your recorder allows it, wear headphones during the interview. You’ll hear that static or low-battery hum before it ruins the file.
- The “Double-Ender”: If recording remotely (via Zoom/Teams), have both parties record a “local” copy on their own phones or computers. These files won’t have the “glitchy” artifacts caused by a bad internet connection.
- The Backup: Always have a second device (even just your phone’s voice memo app) recording as a “safety” track.
- The Golden Rule: Always perform a 10-second test recording and play it back before the real interview starts. If it sounds “muddy” to you, it will be “messy” for the transcriber.
“By mastering your recording environment and streamlining your workflow, you ensure that the voices of the past are captured with the clarity they deserve. But precision isn’t just a technical goal—it’s a methodological necessity. For a deeper look at how the quality of your text directly impacts the validity of your analysis, revisit our deep dive, Method Matters: How High Fidelity Transcription Enhances Qualitative Research Data.
And always remember to be kind, stay positive and learn to unwind.