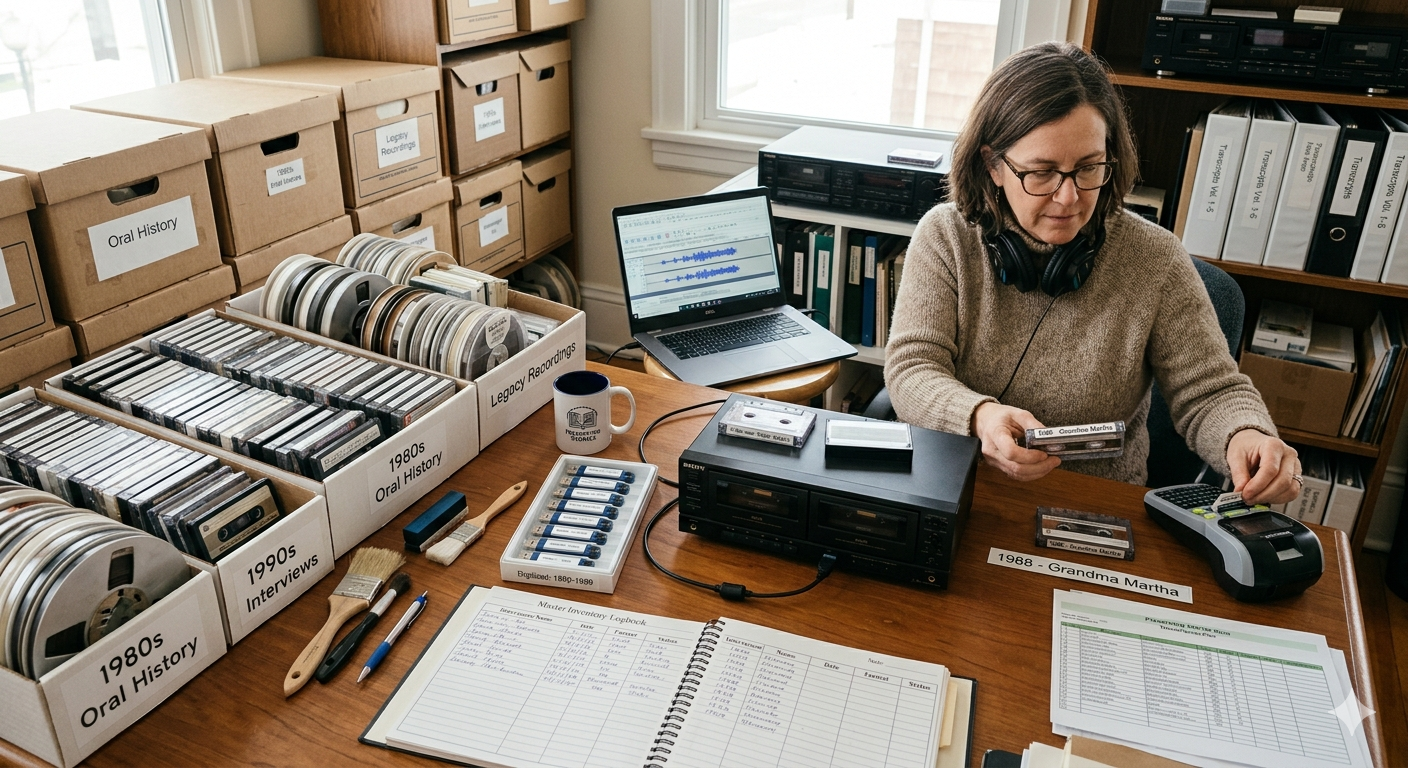
There is a unique kind of weight that comes with a shelf full of unlabeled cassette tapes or a hard drive overflowing with “Interview_Final_v3” audio files. Each recording represents a life lived, a lesson learned, and a voice that deserves to be heard. But when you’re staring down thirty years of oral history, the transition from “raw audio” to “searchable legacy” can feel like trying to map the stars. The key to moving from chaos to clarity isn’t just about typing faster—it’s about the preparation.
The Legacy Audit

An audit isn’t just a fancy word for a “to-do list.” It is a systematic evaluation of your archives to ensure that nothing is lost in the shuffle. Before a single word is transcribed, follow these steps to organize your collection.
1. The Physical and Digital Round-Up
Gather every recording in one place. Whether they are micro-cassettes, CDs, or cloud-based WAV files, they need a singular home.
- For physical media: Check for “vinegar syndrome” (a sour smell indicating decay) or brittle tape. These need immediate digitization before they become unplayable.
- For digital media: Consolidate files into a master folder with a standardized naming convention (e.g., YYYY-MM-DD_LastnameFirstname_ProjectName).
2. Triage by “Audio Health”
Not all recordings are created equal. Some may be crisp studio sessions; others might sound like they were recorded in a wind tunnel.
- High Priority: Clear audio that is ready for immediate transcription.
- Technical Recovery: Files with heavy background noise or low volume that may require audio enhancement or specialized editing before a transcriber can even begin.
3. Creating the Metadata Map
A transcript is only as useful as the context surrounding it. Create a master spreadsheet that tracks the “who, what, and where” for every file. Key columns should include:
- Interviewee Name & Bio: Crucial for spelling names and places correctly.
- Date and Location: Sets the historical scene.
- Keywords/Themes: Does this interview cover a specific era, local folklore, or family genealogy?
- Technical Specs: File format and duration.
4. The Priority Hierarchy
Decide what gets transcribed first is a delicate balancing act between preservation, utility and storytelling. When managing a large collection of recordings, a hierarchy helps ensure that no voice is lost to time while making the content accessible as quickly as possible. Here is a breakdown of why these factors- fragility, relevance and chronology, are the pillars of a transcription workflow.
1. Fragility: The Archival Race Against Time
This is often considered the “top” priority because it involves physical risk. Magnetic tapes, such as cassettes or reels, are subject to “bit rot” or physical decay like mold and sticky shed syndrome.
- The Logic: If a tape is 50 years old and brittle, every playback could be its last. Transcribing these first ensures that even if the physical media eventually fails, the data and the voice are “rescued” and digitized.
- The Goal: Prevention of permanent data loss.
2. Relevance: Maximizing Impact and Utility
Relevance focuses on the “demand” side of the archive. This includes interviews requested by historians, researchers, or family members for specific projects.
- The Logic: An oral history is only as valuable as its accessibility. If a family is planning a reunion or a researcher is writing a book on a specific era, prioritizing those transcripts provides immediate value to the community. It keeps the history “alive” by putting it into active use rather than letting it sit in a digital folder.
- The Goal: Serving the current needs of the audience.
3. Chronology: Building Foundational Context
Chronology involves working from the earliest memories forward to create a linear narrative of a life or an event.
- The Logic: Starting at the beginning of a timeline provides the necessary context for everything that follows. Understanding a person’s childhood or the origins of a community makes their later reflections much easier to transcribe and understand. It prevents “narrative gaps” where a speaker might reference a person or event mentioned in an earlier, untranscribed interview.
- The Goal: Creating a cohesive and understandable story.
From Archive to Legacy
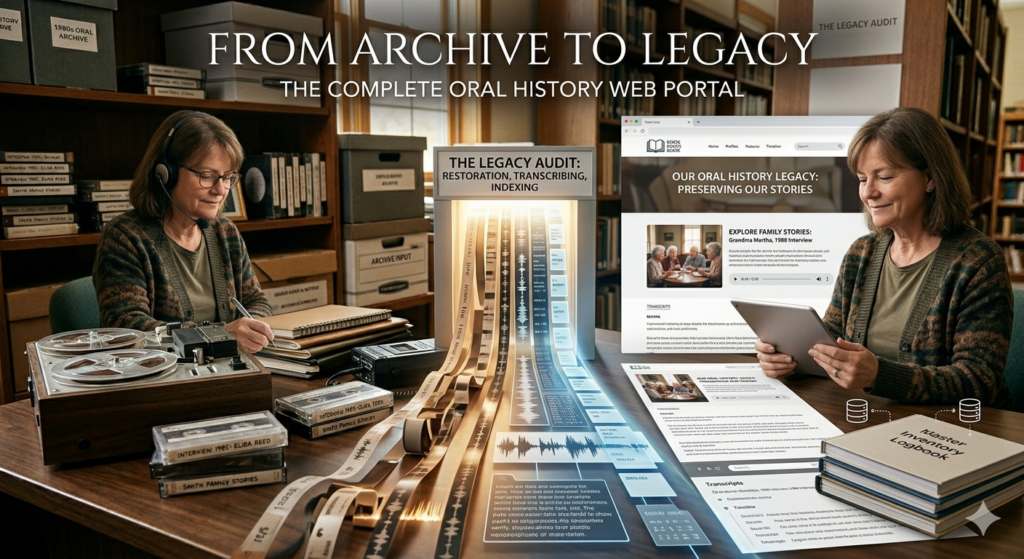
The process of organizing decades of voices is more than just a clerical task; it is an act of preservation. By conducting a thorough legacy audit, you ensure that these stories don’t just sit in a box, but become a living, breathing resource for generations to come. Transcription is the bridge between a sound wave and a story—you are creating a roadmap that transforms a cluttered archive into a searchable history.
Of course, the best way to ensure a smooth transcription process in the future is to start with high-quality audio today. If you are just beginning a new project or looking to upgrade your current toolkit, don’t forget to go back to my blog post on Capturing the Unspoken: The Best Recording Equipment for Oral History in 2026, where we look at what I consider the best recording equipment for all your oral history projects. Having the right gear from the start saves hours of “technical recovery” later on.
Until next time—be kind, stay safe and learn to wind.