

We often obsess over the technology: Is the recorder charged? Is the external microphone positioned correctly? Is the room quiet? But the most critical component of a successful oral history interview isn’t the hardware—it’s the narrator.
A comfortable, prepared narrator is the difference between a shallow Q&A session and a rich, emotional, and historically significant life story. If your narrator feels nervous or unprepared, they may hold back. If they are ready and relaxed, they will open up.
To help you get the best out of your next session, here is your Pre-Interview Checklist to share with your narrator.
1. The “Memory Trigger” Phase
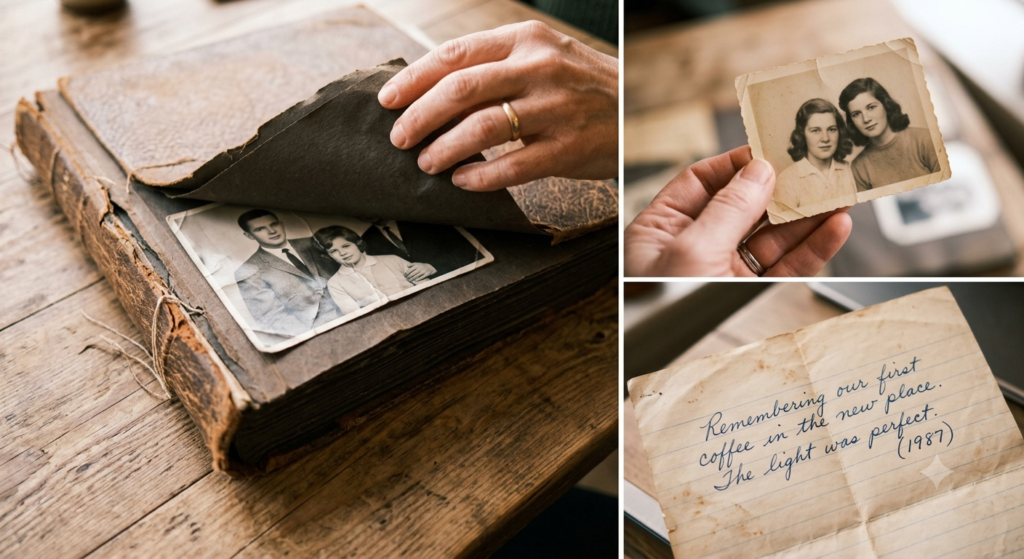
Encourage your narrator to spend time in the days leading up to the interview “priming” their memory. Memory is associative, and a little groundwork goes a long way.
Photo Walkthrough: Ask them to look through old family photo albums or digital folders. Physical triggers are the fastest way to bridge the gap to past events.
The “List” Method: Ask them to write down 5–10 key life events or “chapters” they definitely want to discuss. This helps them feel like they have agency over the narrative.
Artifact Hunting: If they have old journals, letters, or keepsakes, suggest they keep them nearby during the interview.
2. Physical and Environmental Comfort

When someone is physically comfortable, they are more likely to speak at length.
The Quiet Zone: Ensure the space is free of distractions (ticking clocks, barking dogs, or humming refrigerators).
The “Water Rule”: Always have a glass of water on hand. Talking for long periods dries out the throat and can lead to vocal strain or coughing interruptions.
Seating Matters: Ensure they are in a chair that is comfortable but allows them to sit upright. If they are too reclined, their voice will sound muffled; if they are too uncomfortable, they will fidget.
3. Setting Expectations (Reducing Anxiety)

Many narrators are intimidated because they think they need to be “perfect” or “historically accurate” to a scholarly degree.
Emphasize “Story,” Not “Facts”: Remind them that oral history is about their lived experience, not a deposition. It’s okay to say “I don’t remember” or “I think it was around that time.”
The “Pause” Power: Explicitly tell them: “If you need a moment to think, or if you get emotional, just pause. We can stop the recording or just take a breath. There is no rush.”
Explain the Process: Briefly explain that you are looking for a conversation, not a performance. If they stumble over their words, it’s completely fine—that’s what post-interview editing and professional transcription are for!
4. The Pre-Interview “Warm-Up”
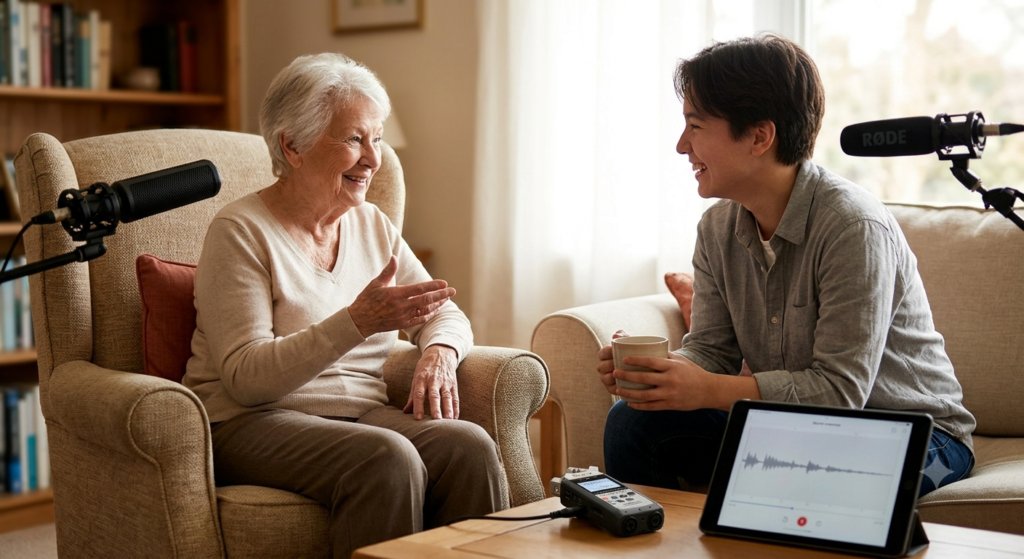
Never hit “Record” the moment you walk through the door.
The 15-Minute Rule: Spend 15 minutes chatting about non-recorded topics. Discuss the weather, family news, or how their week has been.
The “Test” Soundcheck: Use this time to do a sound check. It serves two purposes: it ensures your audio levels are perfect, and it allows the narrator to hear their own voice through your setup, which helps them acclimate to the equipment.
The Goal: A Natural Conversation
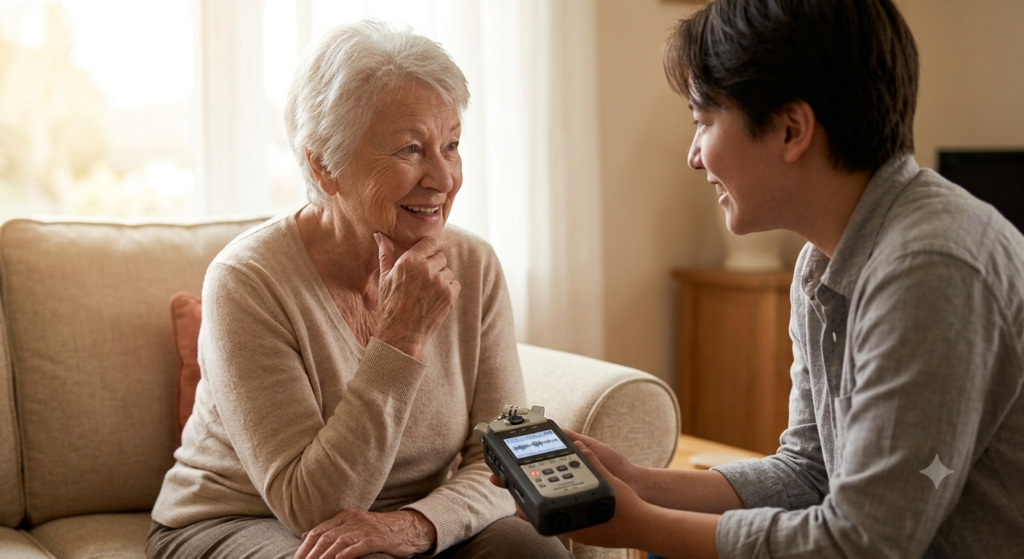
Your role as the interviewer is to be a facilitator of memory. By preparing your narrator with this checklist, you remove the anxiety of the “performance” and allow them to focus on the story.
Remember: A transcript is only as good as the conversation that created it. When your narrator feels seen, heard, and supported, the resulting recording will be a treasure that lasts for generations.
Are you currently preparing for an oral history project? If you need professional assistance in turning your final recordings into accurate, readable, and preserved transcripts, reach out to Jofranlu.com today for a consultation.