Preserving Voices: Why Oral History Matters
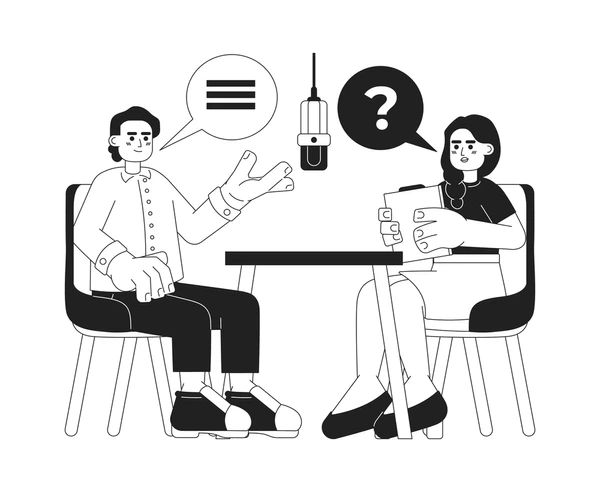
Oral history is a vital method for capturing and preserving personal memories and lived experiences that often go unrecorded in traditional archives. It moves beyond official documents to offer rich, subjective, and deeply human accounts of the past. The oral history interview itself—the interaction between the interviewer and the narrator—becomes a primary source.
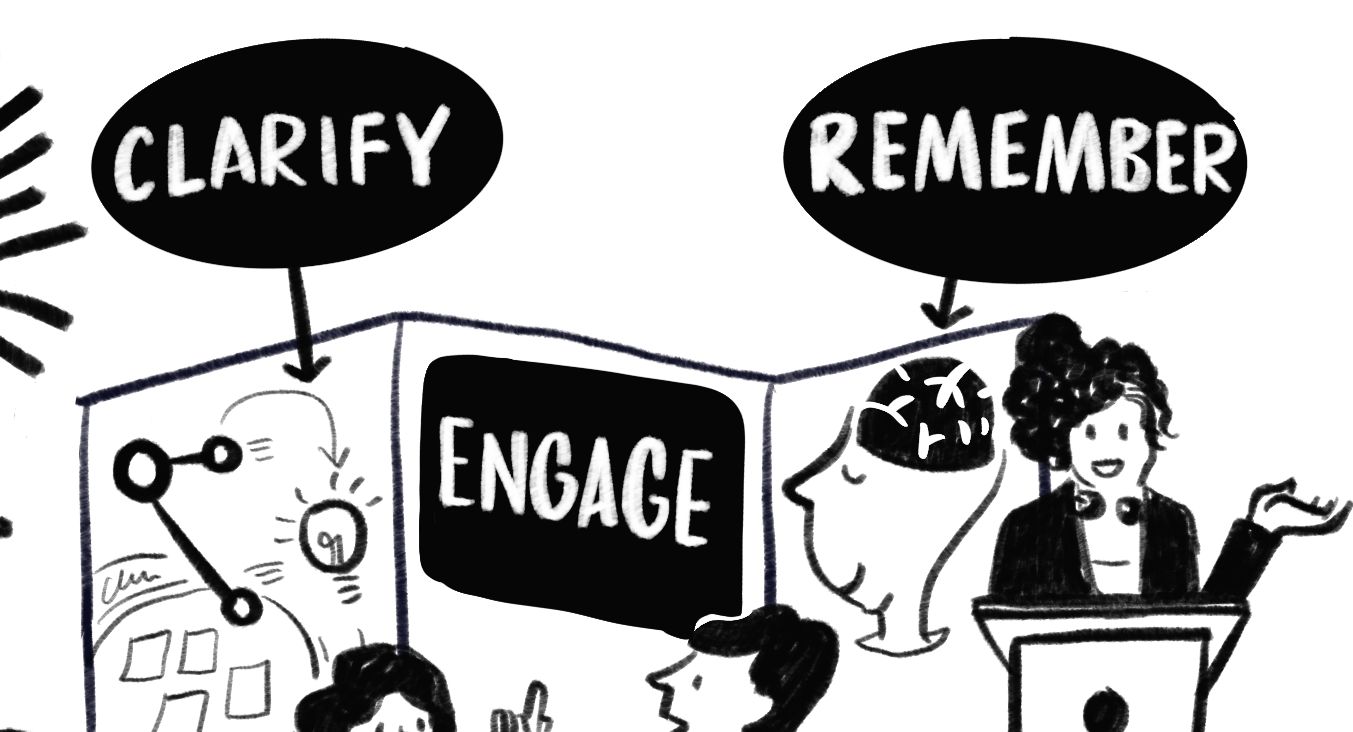
However, the raw audio recording is just the first step. To make these stories accessible, searchable, and usable for researchers, an accurate and clear transcript is essential. And a crucial component of a high-quality transcript is the method used to label who is speaking. Poor speaker identification can lead to confusion, misattribution of quotes, and ultimately, a flawed historical record.
The Craft of Clarity: How to Label Speakers in an Oral History Interview
When transcribing an oral history interview, the main goal of speaker labeling is to create a clean, consistent, and easy-to-follow document that clearly attributes dialogue to the correct person. While specific institutional style guides may vary, the following principles represent the standard best practices in the field:
1. Identify All Speakers Up Front
The first page of your transcript (or a dedicated “List of Speakers” section) should clearly list everyone present, their full name, and their role in the interview.
Interviewer(s): The person conducting the interview.
Narrator/Interviewee(s): The primary subject(s) whose story is being recorded.
Other Speakers: Any other individuals who interject or participate (e.g., a spouse, child, or colleague).
2. Adopt a Consistent Labeling System (Initials are Key)
The most common and effective method is to use a consistent abbreviation, typically the speaker’s initials, followed by a colon and a space, at the start of each new segment of dialogue.
Standard Practice: Use the initials of the speaker’s full name.
Example: JDP: (for Jeff D. Peterson, Interviewer)
Example: DL: (for Diana Lett, Narrator)
Consistency is Crucial: Once you assign an abbreviation, stick to it throughout the entire transcript.
Example Dialogue:
JDP: Where were you living when the factory closed?
DL: We were still in town then. It was a difficult time.
3. Establish a Hierarchy of Initials
If you have multiple people with the same initial, you must differentiate them to avoid ambiguity.
Use all three initials (first, middle, last).
Use the first initial and the full last name in all caps (e.g., JPETERSON:).
Use a clear, project-defined pseudonym if required for ethical reasons.
4. Note Unidentified and Nonverbal Speakers
Not every voice is known, and not every sound is a word. You should still account for them to maintain the integrity of the recording:
Unknown Speaker: If a voice interjects and cannot be identified, use a general label in brackets.
Example: [UNKNOWN SPEAKER]: That’s absolutely right.
Nonverbal Cues: Use brackets to indicate significant nonverbal sounds, especially those that convey meaning or emotion. This often appears on the line of the person making the sound.
Example: DL: And I just couldn’t believe it [Laughs].
Example: JDP: You sound surprised. [Pause]
5. Account for Overlap
When two speakers talk at the same time, it can be challenging. Many styles use em dashes or specific notations in brackets to show that speech is overlapping.
Example: JDP: So you felt that—
DL: —No, I felt the opposite, actually.
The Ethical Dimension
Remember, transcription is an act of interpretation. How you label speakers is an ethical choice. Your labels not only structure the text but also grant agency to the person speaking. By adhering to a clear and consistent style guide, you ensure the integrity of the historical source and honor the voice of the narrator, making their unique perspective a transparent and reliable part of the historical record for generations to come.
If you have any specific transcription needs for your oral history projects, don’t hesitate to reach out! Send a reply below, and Jofranlu will be in touch to discuss how to best preserve the voices you’re collecting.
Remember to be kind, stay positive and learn to unwind.