
I’ll be showing you easy steps to create a Skype account for all your remote oral history interviews and meetings.
Go to the Skype Website
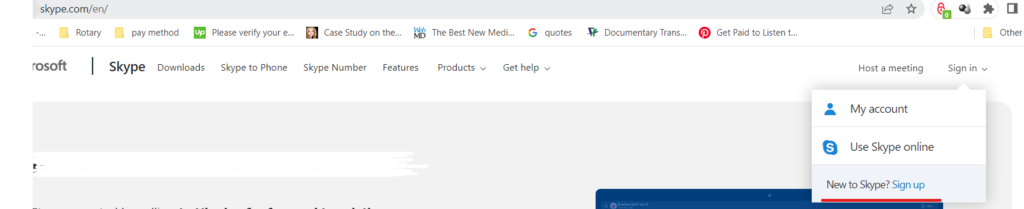
To create a new Skype account, go to your web browser then type in Skype.com. You will be directed to the official website for Skype. Click on the sign in button on the top right. A drop-down menu will appear. Click on the sign-up option as shown below.
Email or Phone Number Option
You will be taken to the page below. Here, choose your country code and then enter your phone number or you can use your email instead. In this blog we’ll go with the email option. Enter an email for your skype account and click on the next button.

Create a Password
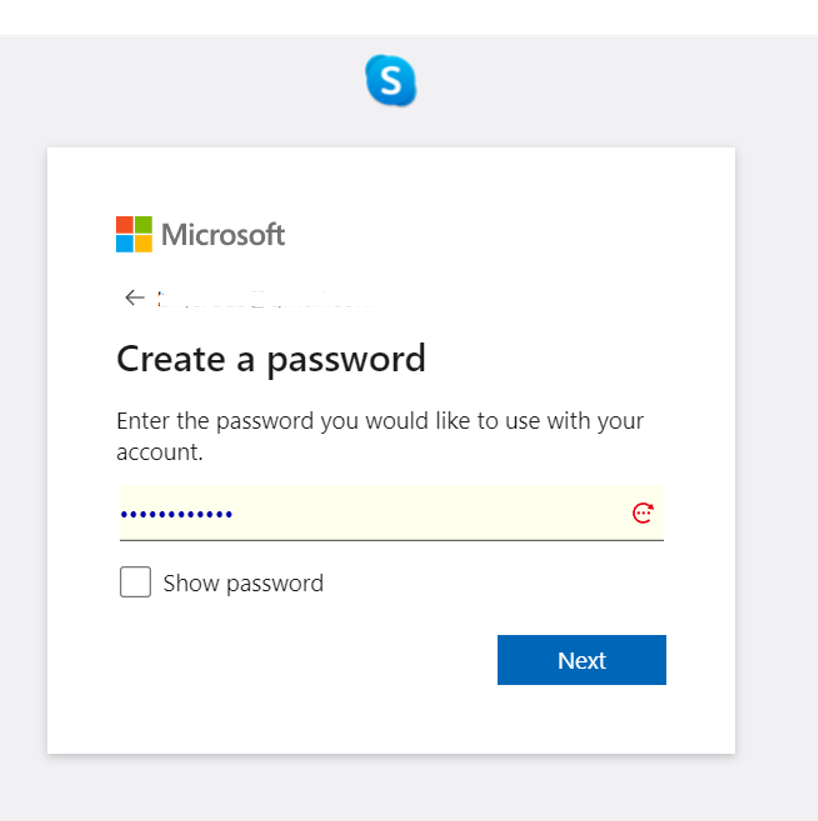
Create a password that you would like to use with your Skype account then click next.
Enter Your First and Last Name
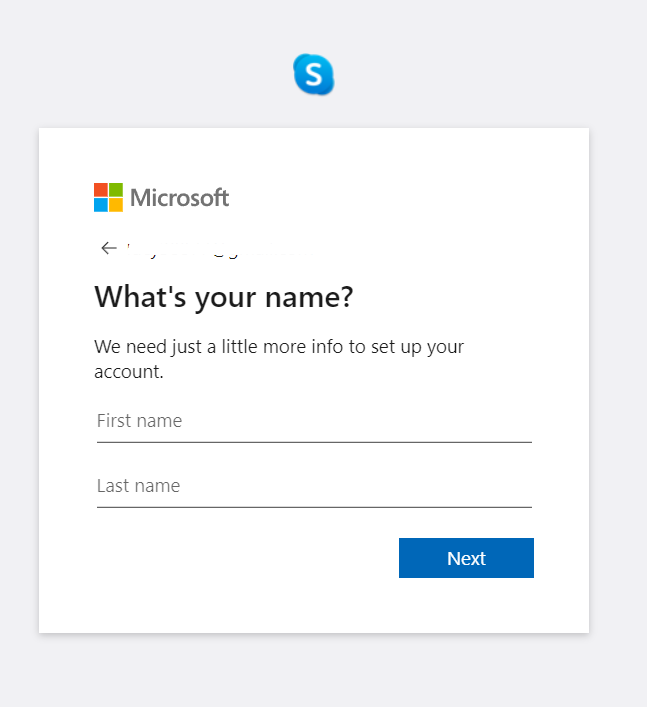
Next, you will be required to enter your name both first and last name then click on the next button.
Verification Code
You will then be required to verify your email.
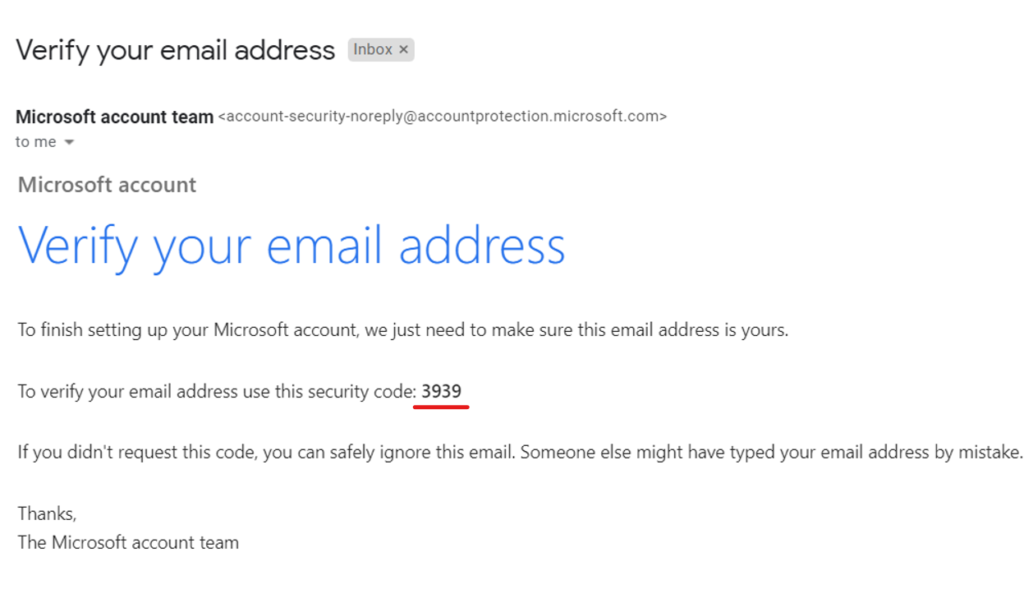
Copy the Verification Code in Your Email
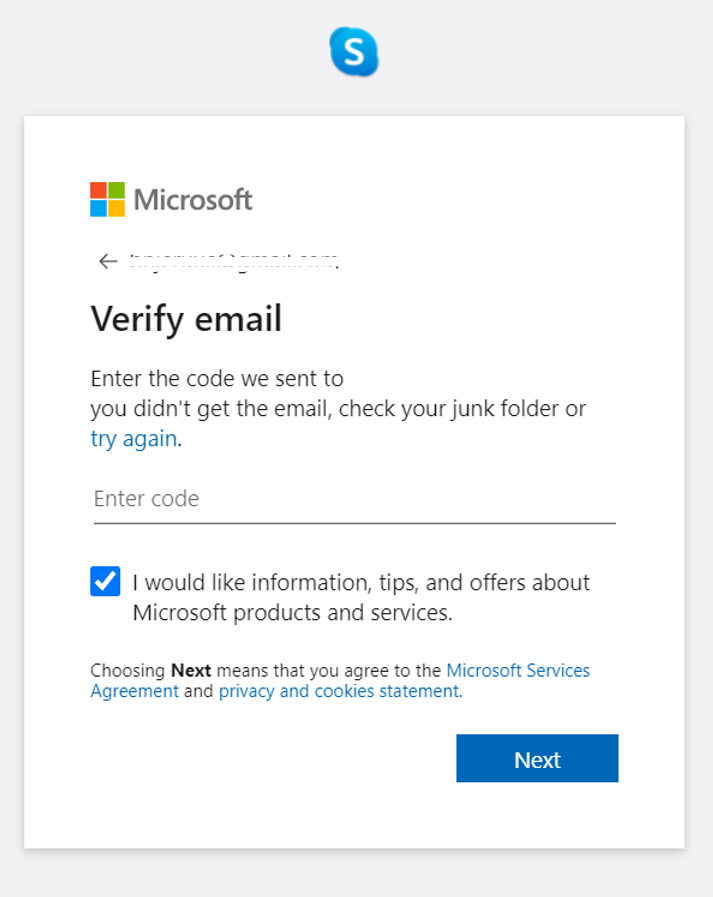
A code will be sent to the email that you entered. Check the email and open it. A four-digit code will be in the email. Copy the code that has been sent to you.
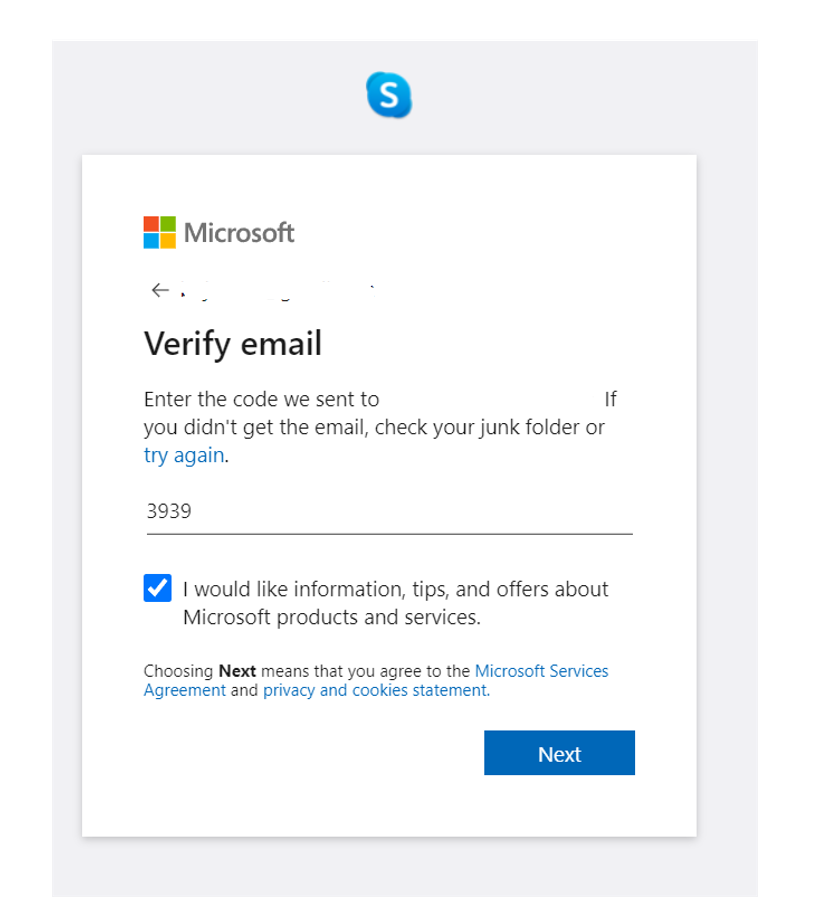
Paste The Verification Code
Go back to the verification part of the step and enter/paste the code. Before you click next, there is an option that asks if you would like information, tips, and offers about Microsoft products and services. If you would like the updates then check the box, if not then go ahead and click the next button.
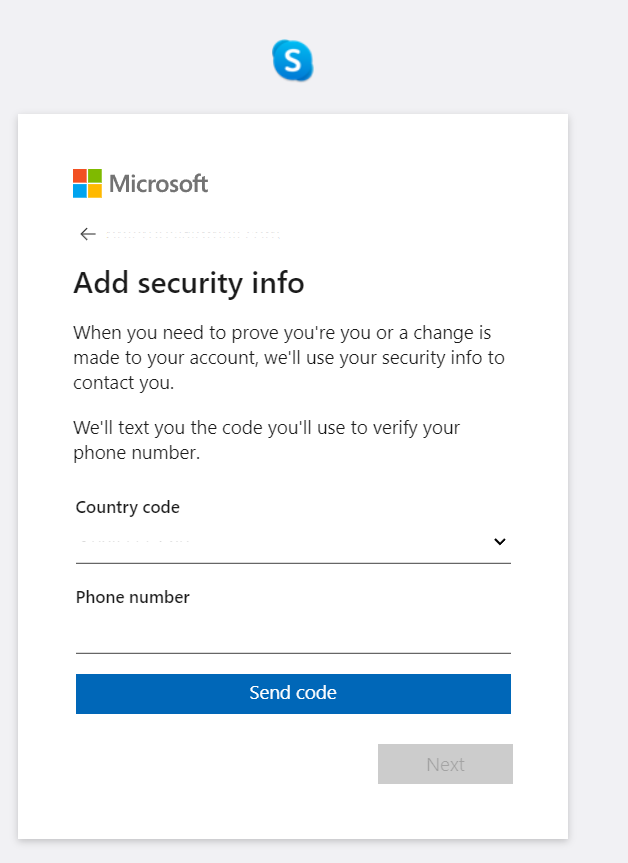
Additional Security Information
Sometimes you may be required to authenticate yourself further. This authentication is for when you need to prove you’re you or a change is made to your account, they’ll need your security info to contact you. They’ll do this by sending you a code you’ll use to verify your phone number. So fill in the details and click next.
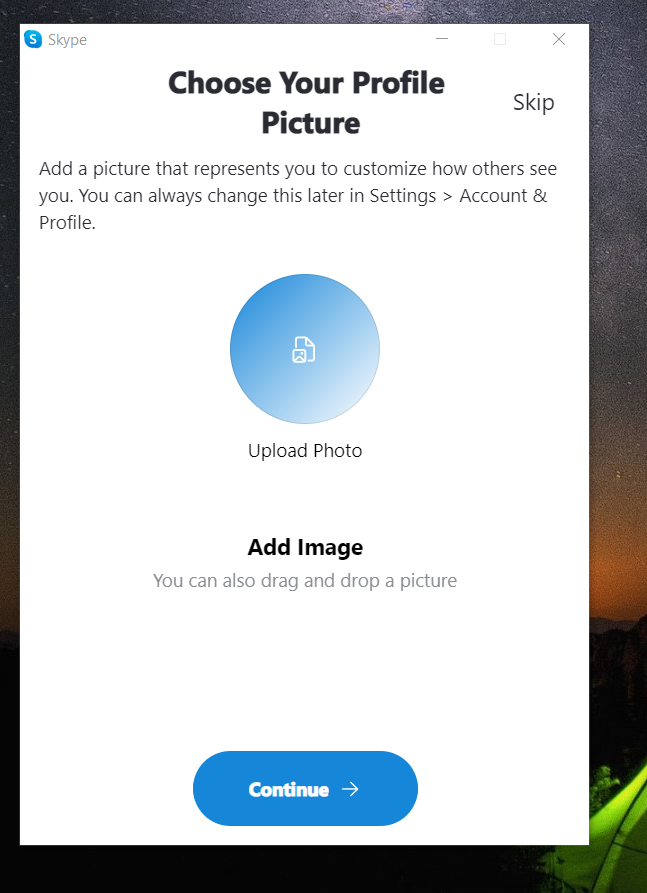
Choose a Profile Picture
You have now created a brand-new Skype account. To get started pick a profile picture by uploading it from your gallery. Click the continue button once you have picked one or if you’re not up to do this now, just click skip on the top right hand corner.
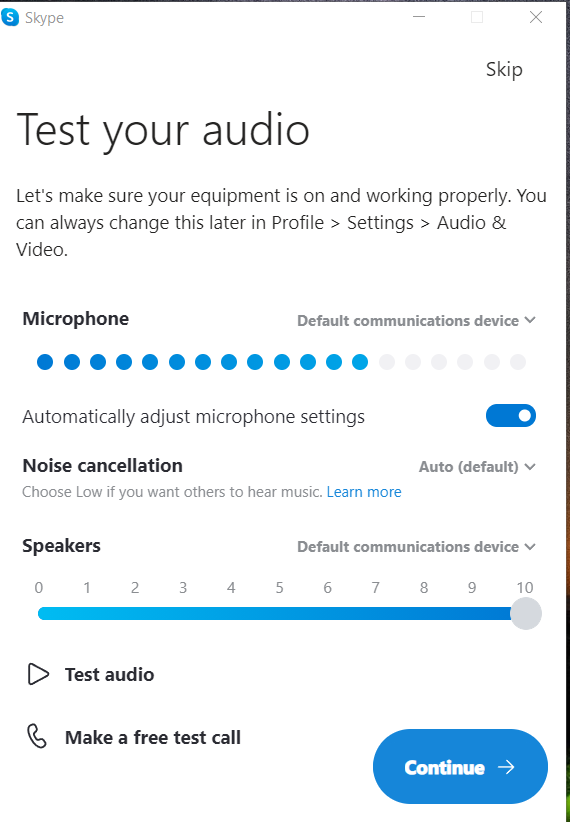
Test the Audio Settings of your Skype Account
Give your audio setting a test run. Which includes the microphone and speakers. You can even make a free test call. Or just simply skip and deal with it later.
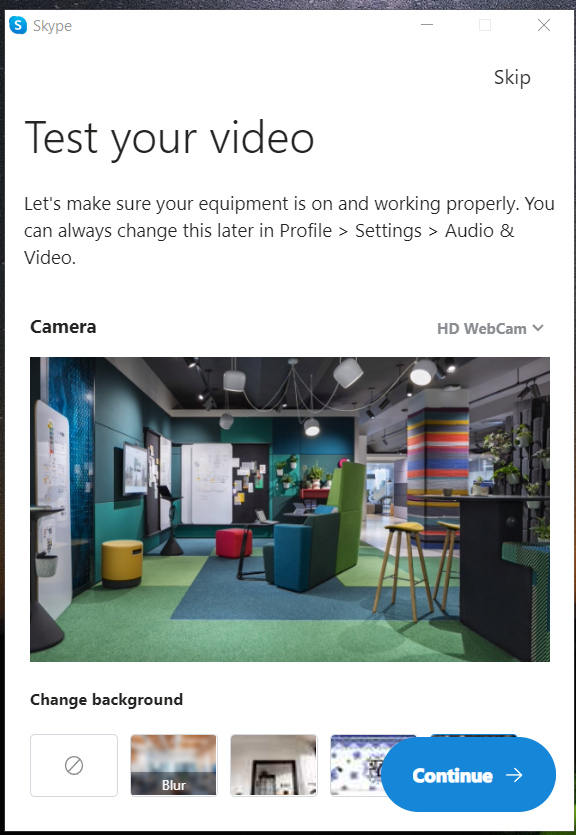
Test the Video Settings of your Skype Account
Give your video settings a test run as well to ensure they are working properly or you can skip and deal with it later
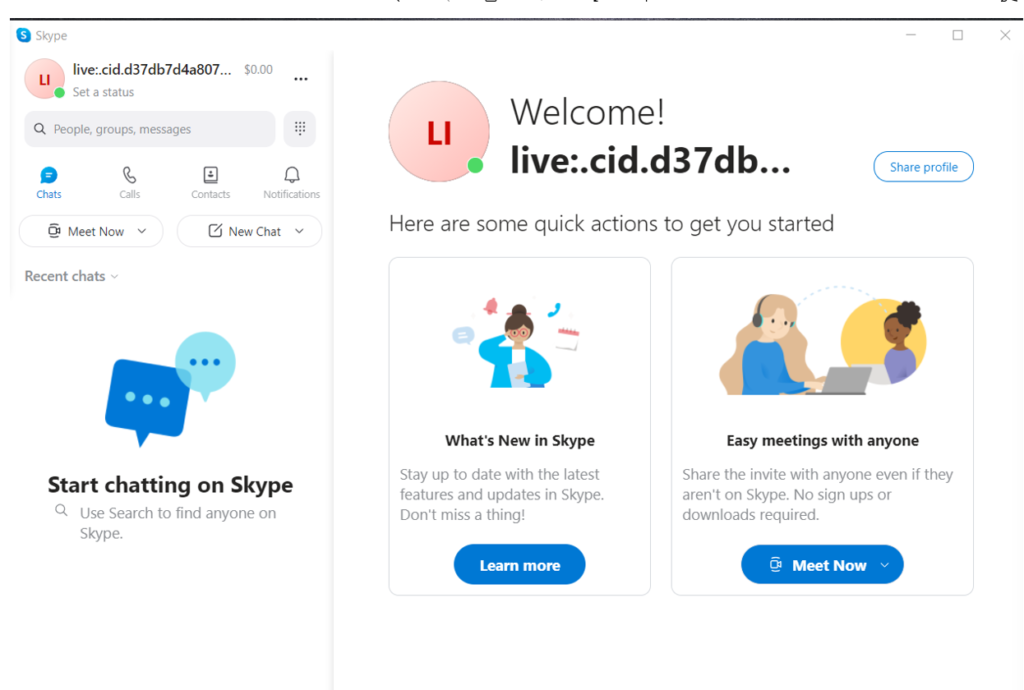
All Set and Ready to Go
You now have a Skype account. I do hope this blog was helpful.
Conclusion.
As with any online app, there are disadvantages and advantages of video conferencing all your oral history interviews. Pick an app that suits your oral history recording needs and learn how to use it to get the most out of it.
Check out my blog on easy steps to sign up for a Zoom account which can also be helpful for all your oral history interviews. Feel free to contact us for any questions or comments you may have and kindly consider us for any of your transcription needs.