In this post, I am going to show you how to set right the microphone sensitivity on the Zoom H1n for your oral history interviews. This is the third post in this tutorial series on how to use your Zoom H1n to record your oral history interviews.
The first post in this series was a how to guide on how to format your microSD card using the Zoom H1n. The second post was a how to guide on setting your audio format on the Zoom H1n. And the final post in this series will be on how to transfer your recorded audio files to your computer from the Zoom H1n.
Other than setting the file audio format to record your oral history interviews, setting the right microphone sensitivity is the other key determinant of the quality of your audio recording.
Simply, if you set a too high microphone sensitivity on the Zoom H1n, background noise will be more noticeable when your signal level is low. So you want to set the right microphone sensitivity for your signal level, and this is determined by the interviewee and the location of the interview.
Also, setting a too high microphone sensitivity level can lead to audio clipping. Audio clipping occurs when you push the microphones on the Zoom H1n past their ability to record audio. For instance, when someone shouts into the microphone. When clipping occurs on the Zoom H1n, the recording LED will blink rapidly.
So keep an eye on this, if you see the recording LED blink rapidly when you are recording your oral history interview, you will need to lower your microphone sensitivity.
Theoretically, using a limiter would be a good way to stop audio clipping. However, the Limiter on the Zoom H1n is broken as it increases the background noise at microphone sensitivity of 5.5 and above. So, I’d recommend you always set it to OFF.
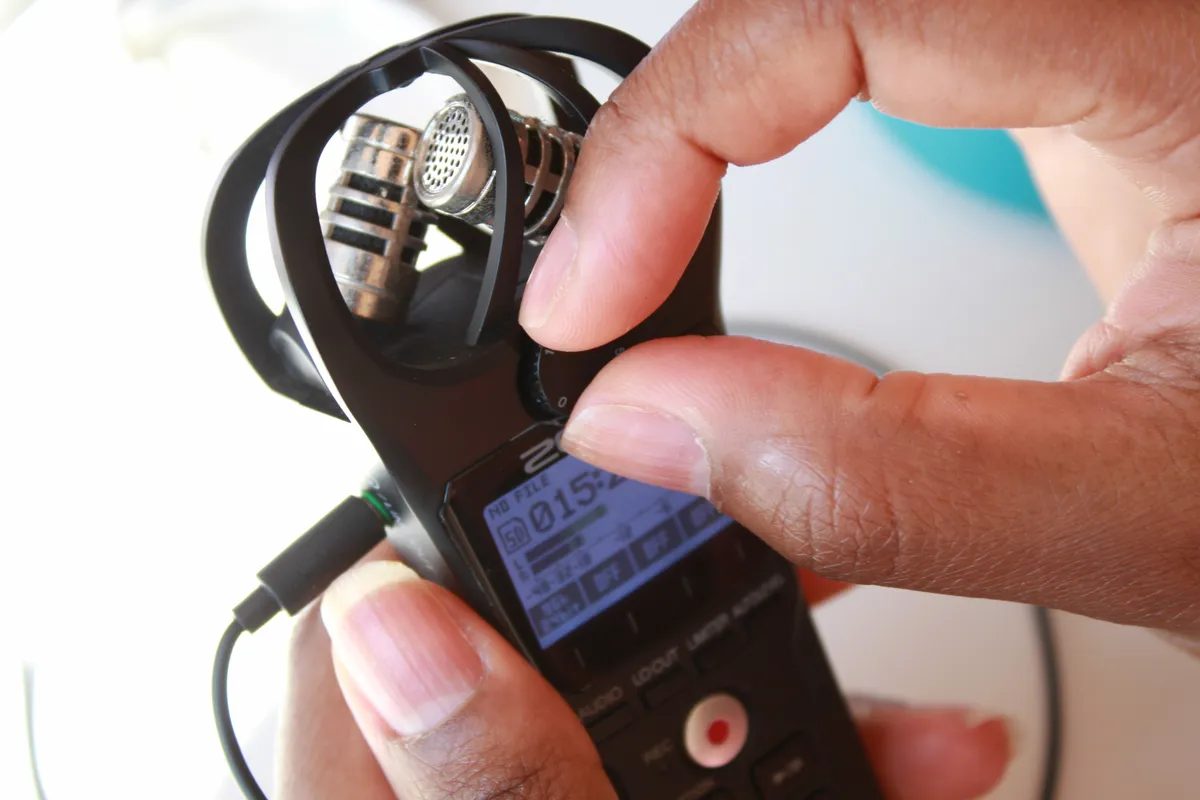
Setting the microphone sensitivity on the Zoom H1n is relatively easy. Simply turn the input dial, right below the microphones to clockwise to increase the microphone sensitivity and anti-clockwise to decrease the microphone sensitivity.
But how do you find out what is best setting microphone sensitivity on the Zoom H1n for your oral history interview recordings?
Step 1: Insert headphone into the line out port
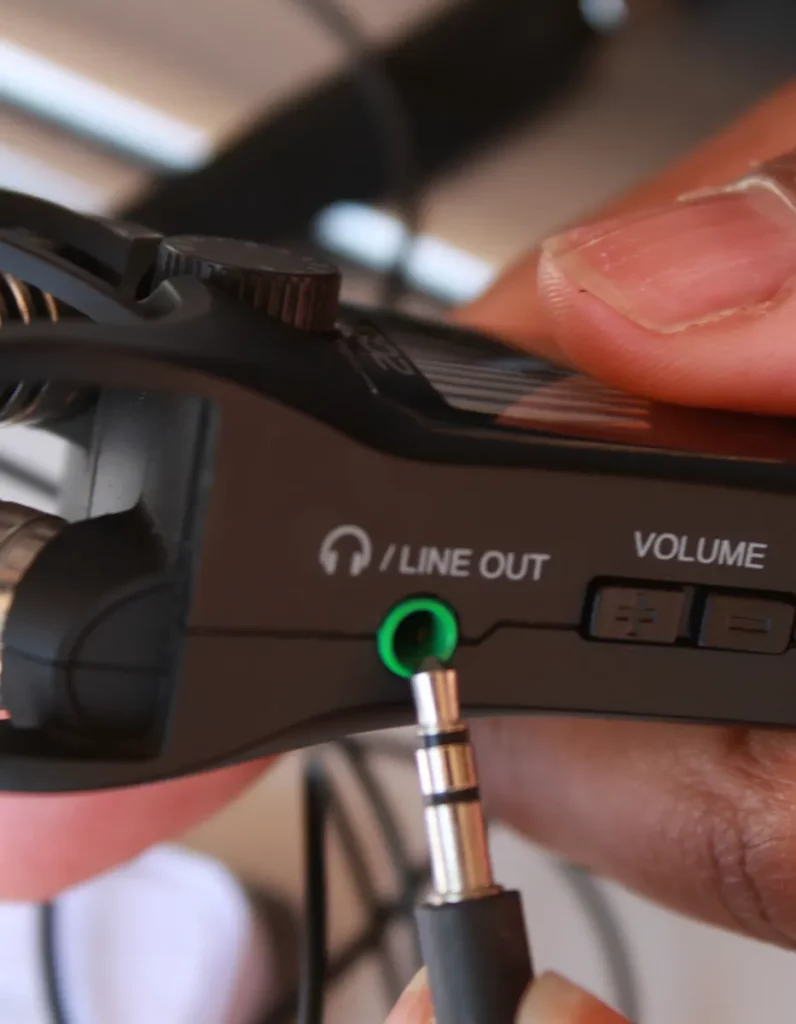
You will need to monitor your recording, and to do that you will need a pair of headphones. They don’t have to be a great pair. I use my phone’s headsets to monitor recordings as they are small and easy to carry. I recommend that you get a similar set of headphones and always carry them with your Zoom H1n recorder.
Step 2: Set the headphone volume to 50
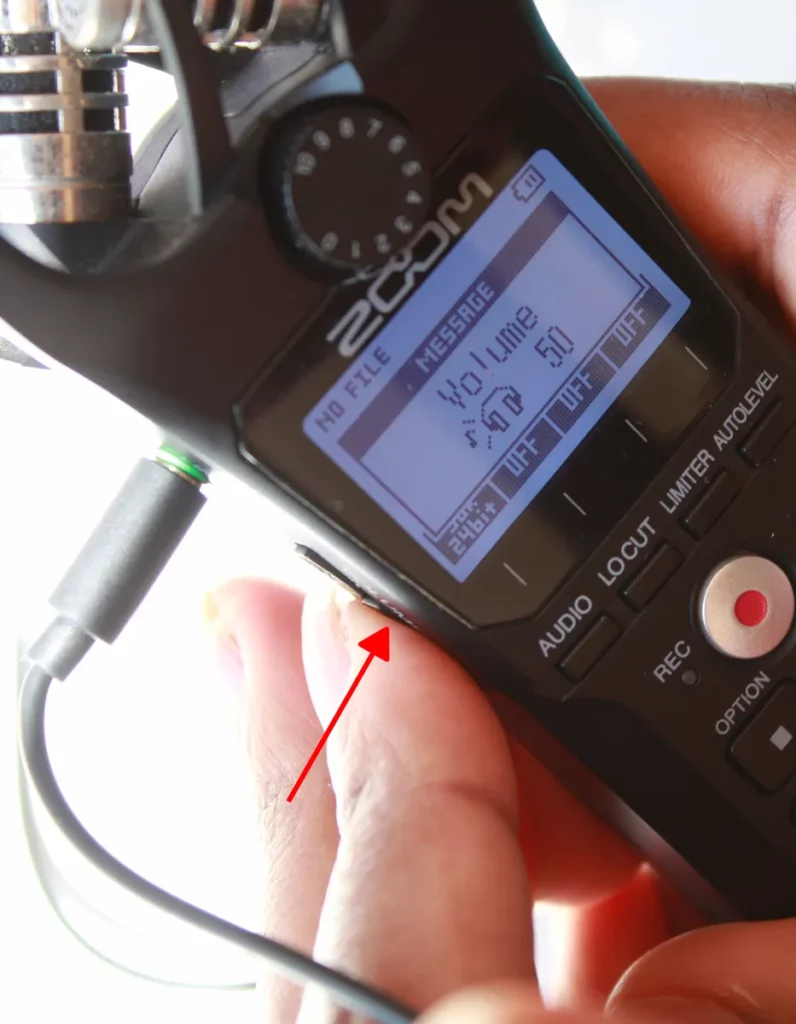
Next, adjust the volume of your headphones to 50 or to a level that matches what you hear in the recording location. Use the volume buttons right below the line out/headphone jack to set the headphone volume.
This value will greatly depend on the headphones you are using. For my small headphones, this value is 50. For my larger headphones I usually have to increase it to around 70 – as they have larger drivers.
And you don’t need to be recording audio for you to monitor your recording and set the appropriate microphone sensitivity.
Step 3: Turn the input dial
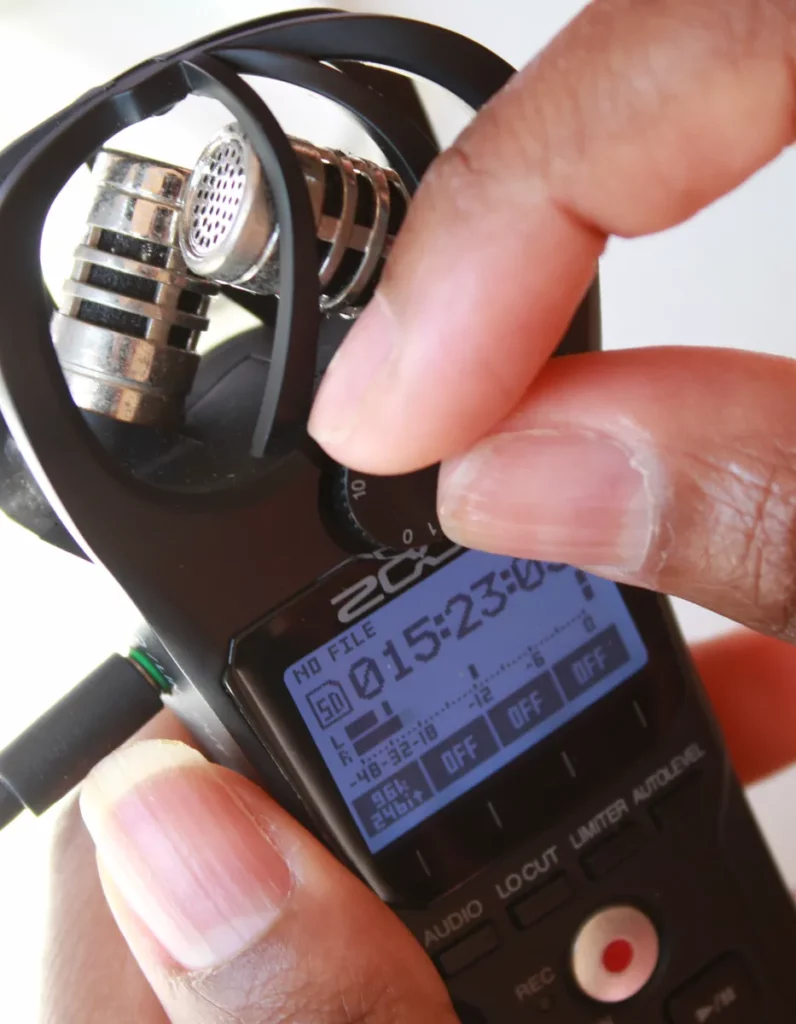
Finally you want to increase and decrease the microphone sensitivity of your Zoom H1n by turning the input dial. At the same time you need to listen to the audio output and watch the level meters on the Zoom H1n. Adjust the input dial so that the peak level stays around −12dB; middle of the input levels.
I’ve found that the 7-9 microphone sensitivity to be the ideal microphone sensitivity setting for recording interviews is a semi-noisy location – with a fan in the background or air conditioning turned on. And I usually record a 30 seconds sample of the background noise before or after the interview in case I want to remove the background noise using Audacity or similar software.
If you are in a noisy location, decreasing the microphone sensitivity will record less background noise but also the input audio – your interviewee. This will not resolve the issue. Your best bet is to move the Zoom H1n closer to your interviewee. And if you plan to record outdoors, you will need a windscreen as the microphones on the Zoom H1n are very sensitive to wind noise.
My advice is to also avoid using the auto level setting. When I use this setting, I notice a lot of clipping because the Zoom H1n tends to raise the microphone sensitivity during long silences in the interview.
Finally, the Zoom H1n is very susceptible to handling noise. So you need to set it and leave it alone. And if you are laying it on a table, lay it on something soft. The recorder will register any bumps on the table, for instance someone placing a coffee mug on the table, as a loud bang! So if you are not using a stand with the Zoom H1n, place it on a piece of cloth or cushion. This will soften some of the crashes and spare your eardrums when you listen to the recording!
That’s it for this post. If you have any questions or suggestion, please let me know in the comment section below.
Next is the final post in this series on how to use your Zoom H1n to record your oral history interviews ready for transcription. Remember to always be kind, stay positive and learn to unwind.