In this post, I show you how you can transfer your audio files from the Zoom H1n to your computer. This is the final post in this series on how to your use Zoom H1n to record your oral history interviews.
The first post in this series was a how to guide on how to format your microSD card using the Zoom H1n. The second post was a how to guide on setting your audio format on the Zoom H1n. And the third post was on how to set the right microphone sensitivity on the Zoom H1n.
After you have finished recording your oral history interview, it’s recommended that you transfer the recording to your computer at your earliest convenience.
Why?
The first reason is to create multiple backups of your precious data. You don’t want to record a three hour oral history interview and then lose the recording.
Second, you want to take time to rename and organize your recording(s). By default, you recording will be named as ZOOM****. You will want to give your recording a name that is more meaningful – “Interview with Jane.” And you may have multiple recording for the same interview, so you may want to rename and store these recording in a folder.
Finally, transferring the audio recording to your computer will give you a chance to listen to the recording. Listening to your recording with a good set of headphones is the best way to judge its quality. And if you want to edit the recording, to remove background noise or edit out a section at the end – this is the time to do it.
Once all this is done, you can then compress the audio into an mp3 file and send it to your transcriber – hopefully me, for transcription.
So how do you transfer the audio recording from your Zoom H1n to your computer?
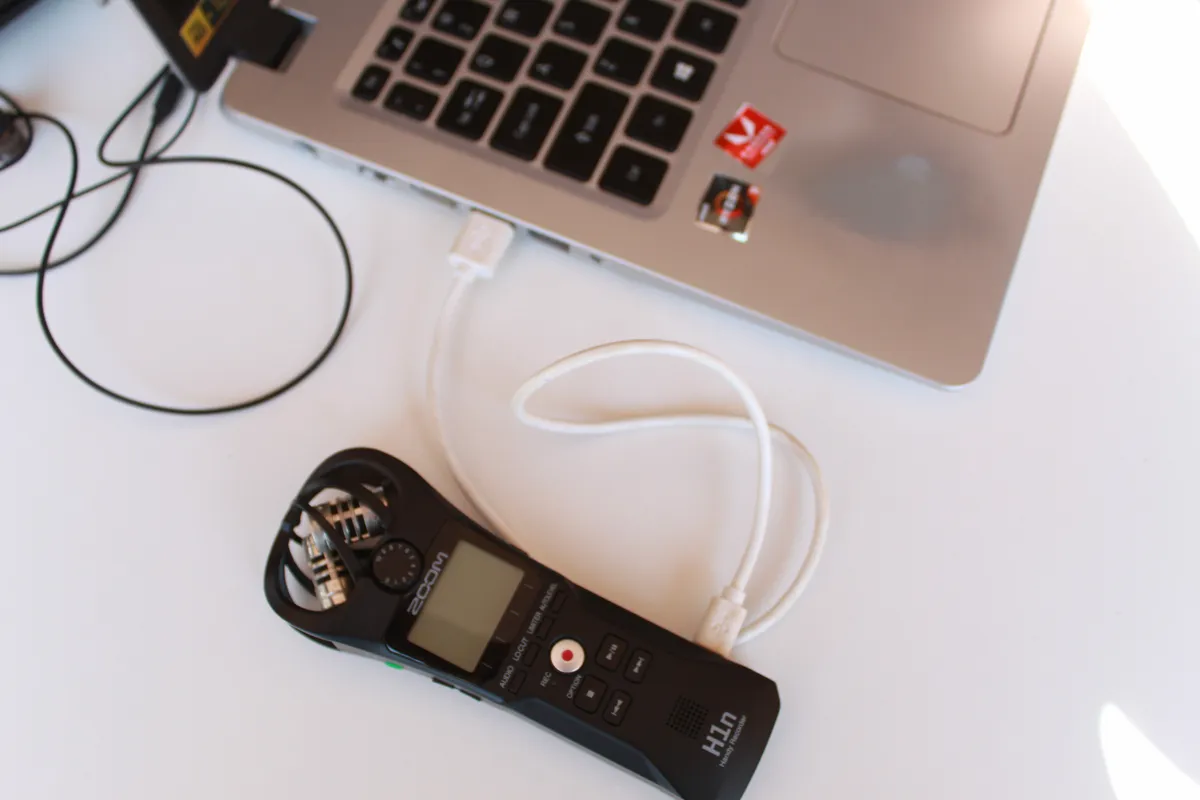
Step 1: Connect Zoom H1n to your Computer
First you will need to connect your Zoom H1n recorder to your computer using a Mini-A USB cable. And you will want to make sure that the cable you use allows data transfer. There are some cables that are only used for charging and they will not work.
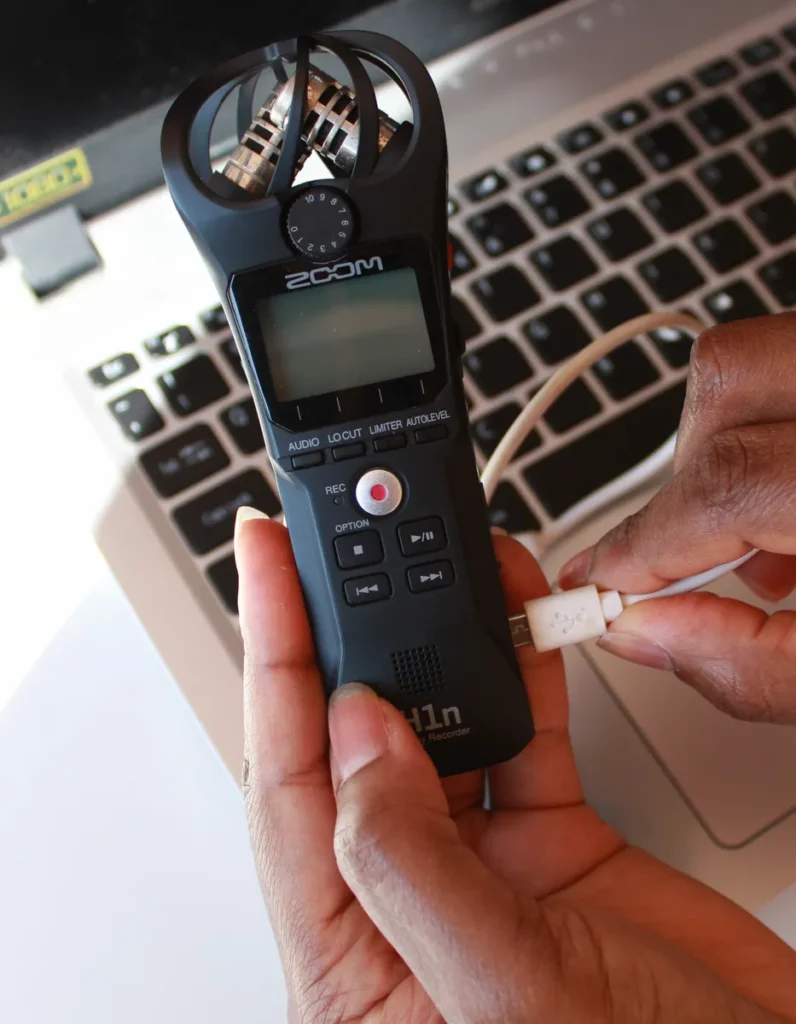
Step 2: Switch on the Zoom H1n
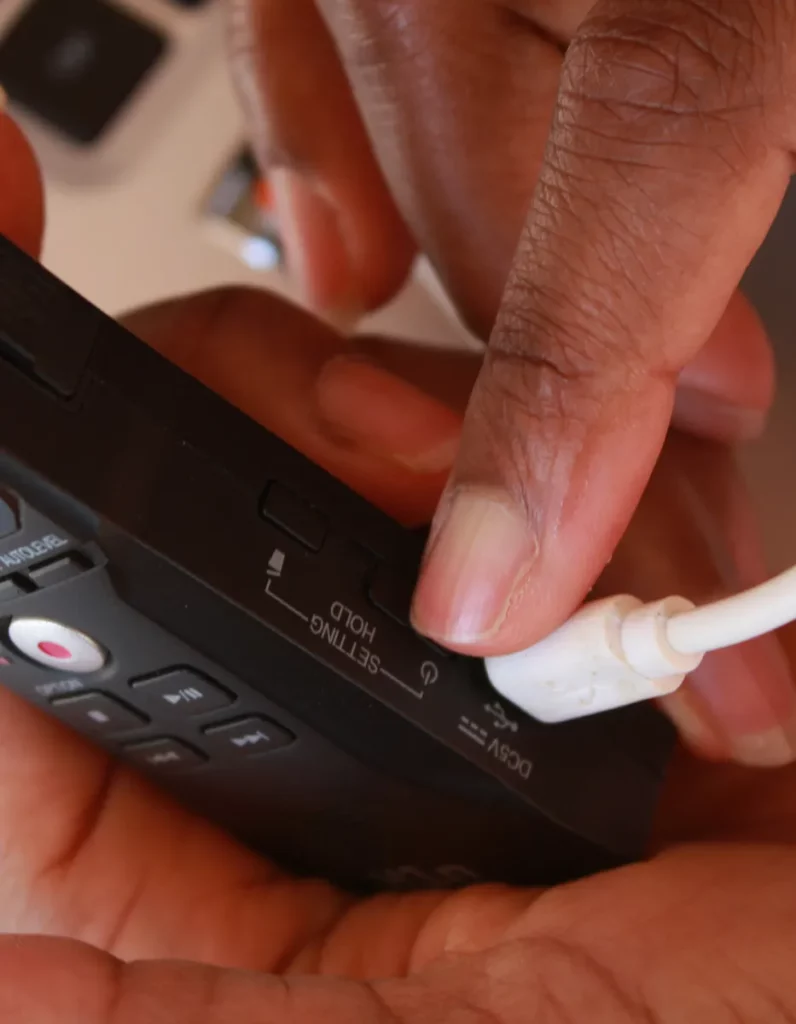
Next, turn on the Zoom H1n.
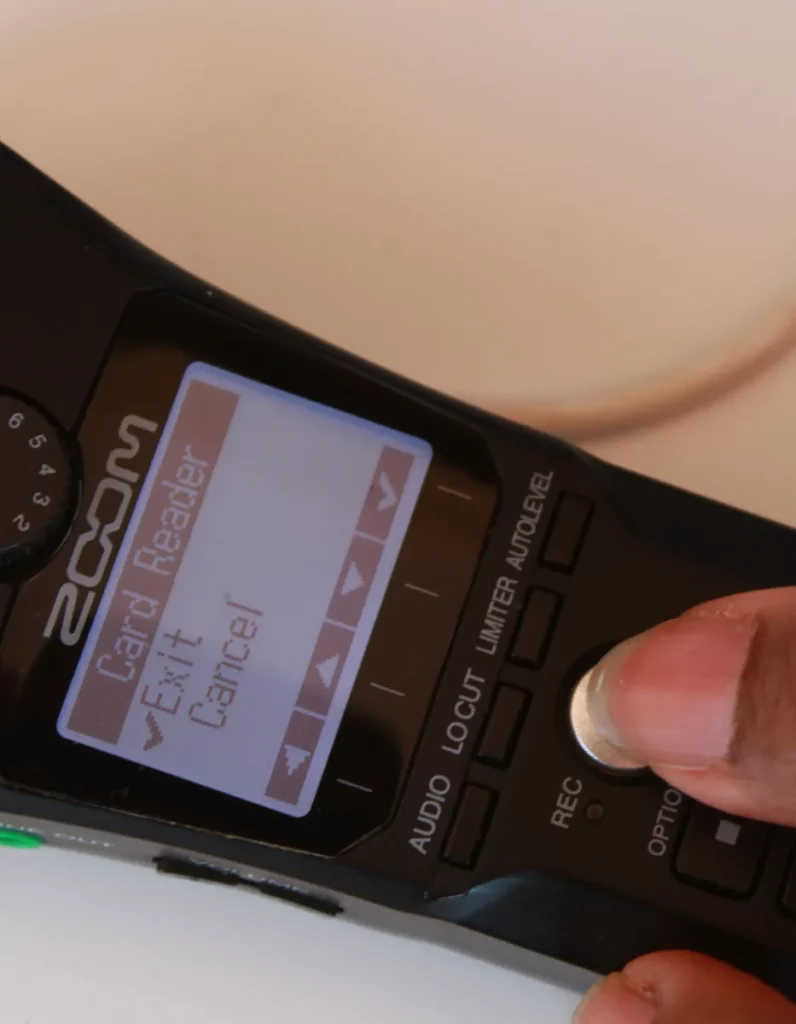
Step 3: Select Card Reader
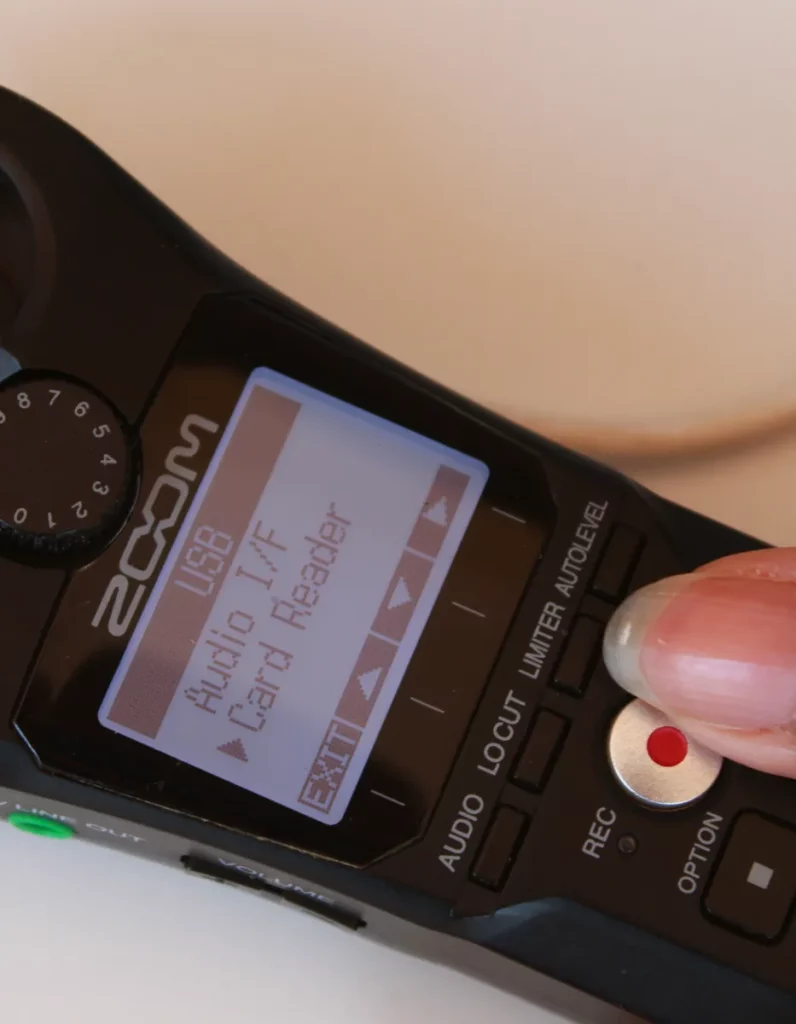
After turning on the Zoom H1n, it will open the USB screen. You will have the choice of using recorder as an Audio interface or Card Reader. Use the locut/limiter buttons to select Card Reader then use the REC button to make your selection.
Step 4: Copy the Audio File(s)
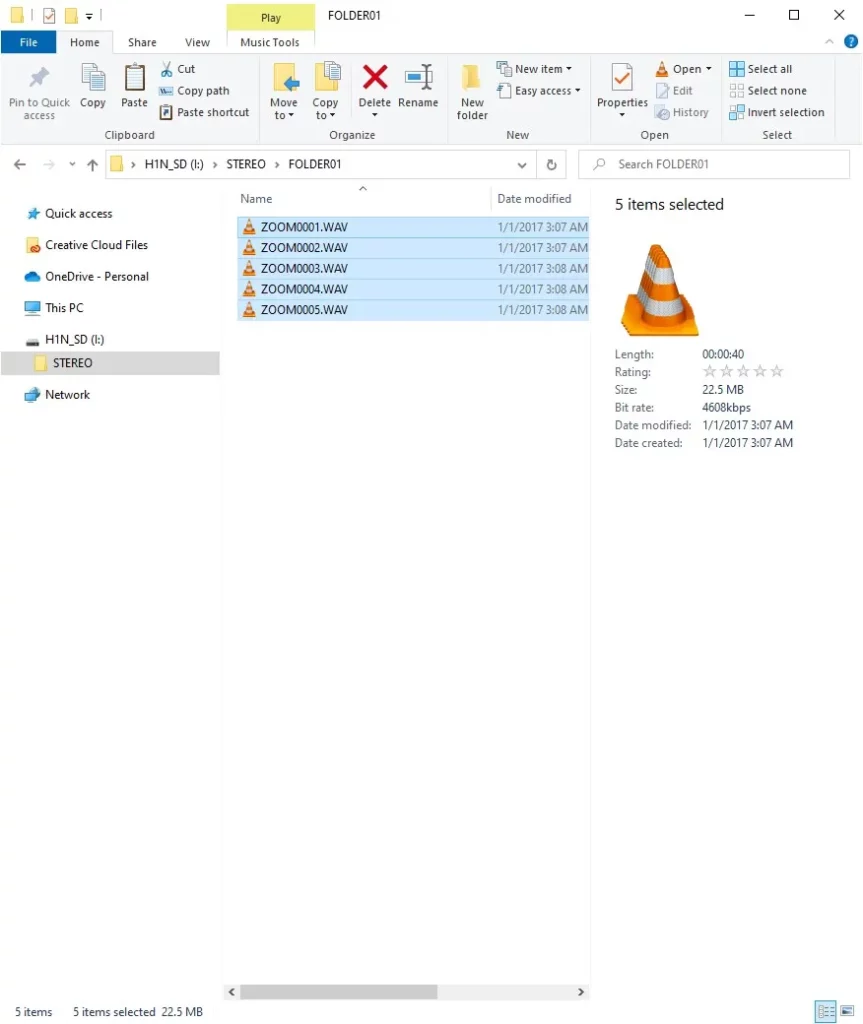
Now, your computer should show a new drive called H1N_SD on your file explorer. On a mac, it should mount it as a new drive. Navigate into the STEREO>FOLDER01 folder and you will find your interview recording. Your audio files will be named sequentially starting with ZOOM0001.WAV as the first file. Select and copy all the files. You can use the Ctrl + A shortcut key to select all the files and Ctrl + C shortcut key to copy all the files.
Step 5: Paste the File(s)
Navigate to the folder where you wish to transfer the file into on your computer. The paste the files. You can use the Ctrl + V shortcut key to paste the files. The copying process will take a while as the transfer speed from the Zoom H1n are slow.
Once the transfer is done, eject the usb drive from your computer, exit from the card reader mode and then switch off the recorder before unplugging it from your computer.
And that’s it. You have transferred the recording of your oral history interviews to your computer. This is the end of this series. I hope you have enjoyed it. The four posts in this series teach you the essentials of recording good quality audio using Zoom H1n. If you can learn these four basic skills, you will be on your path to recoding high quality oral history interviews.
Check out our blog post on Drawbacks of Video Conferencing for Oral History Interviews and Solutions. Happy recording and remember to always be kind, stay positive and learn to unwind.