
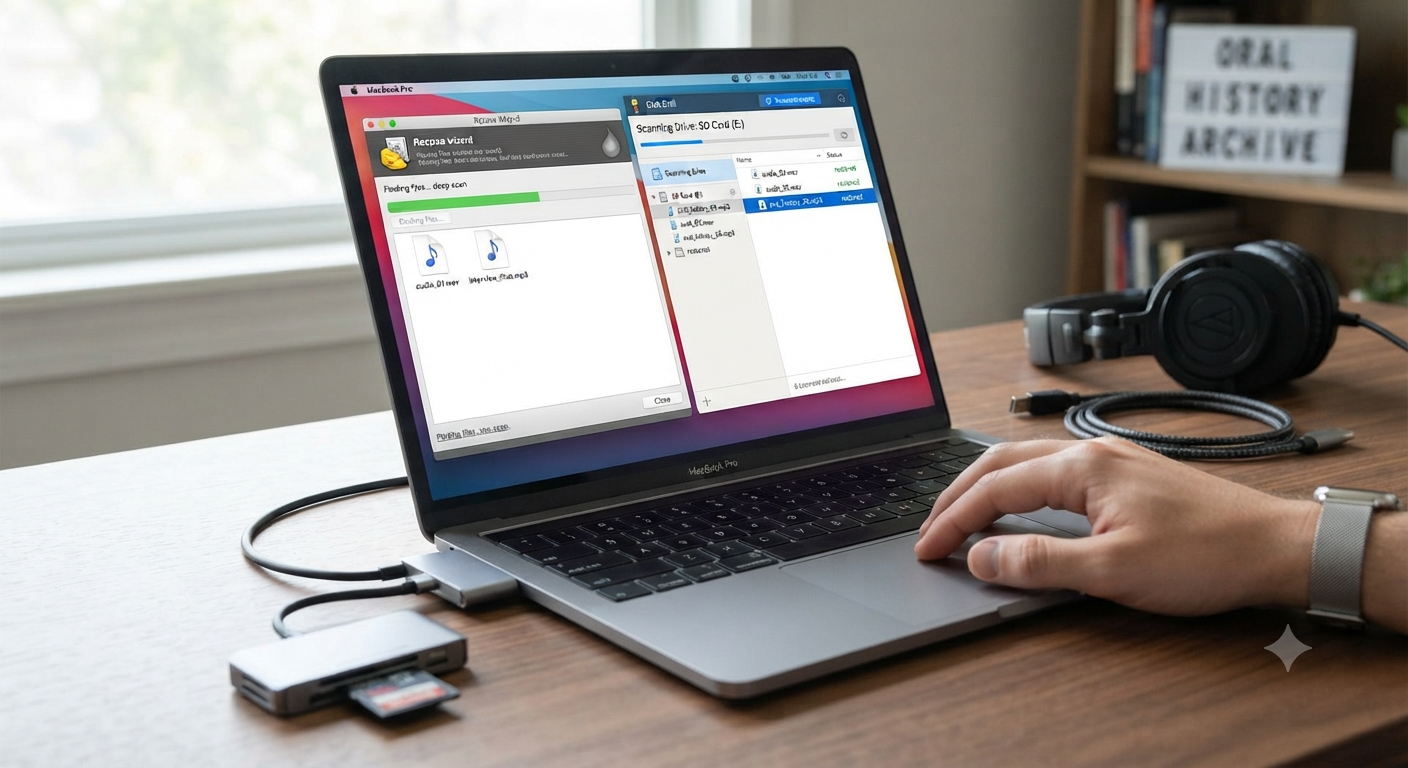
If you encounter an “Invalid SD Card” error or your computer prompts you to format the card (please, do not format it!), your file system structure is likely damaged. The good news is that while the file system is corrupted, your raw audio data is often still intact.
You do not need to use both tools; choose one of the methods below based on your operating system and personal preference to scan and scavenge your card for your recordings.
Method A: Recovery via Recuva (Best for Windows)
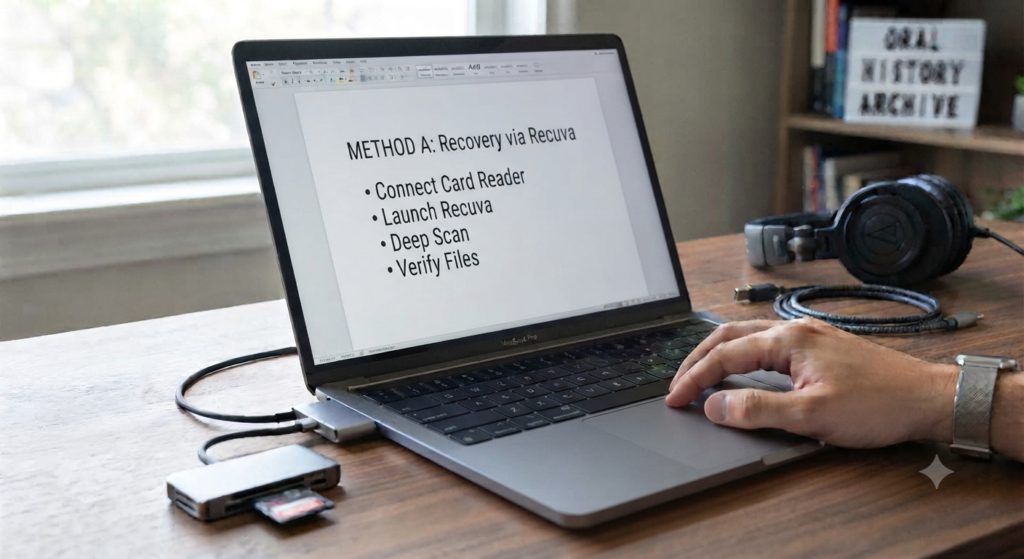
Recuva is a straightforward, lightweight tool that is excellent for quick, effective recovery on Windows systems.
- Download and Install: Download the free version of Recuva from the official CCleaner website.
- Connect the Card: Insert your SD card into a reliable USB SD card reader and connect it to your PC.
- Launch the Wizard: Open Recuva. If the wizard pops up, select “Music” as the file type to narrow the search.
- Select Location: When asked for the file location, choose “In a specific location” and browse to your SD card’s assigned drive letter (e.g., E: or F:).
- Enable Deep Scan: On the final screen, check the box for “Enable Deep Scan.” This is critical, as it ignores the corrupt file system to find raw audio signatures.
- Scan and Recover: Click “Start.” Once the scan finishes, select the files you need (look for .wav or .mp3 extensions). Click “Recover” and save them to your computer’s hard drive, never back to the SD card.
Method B: Recovery via Disk Drill (Best for Mac & Windows)
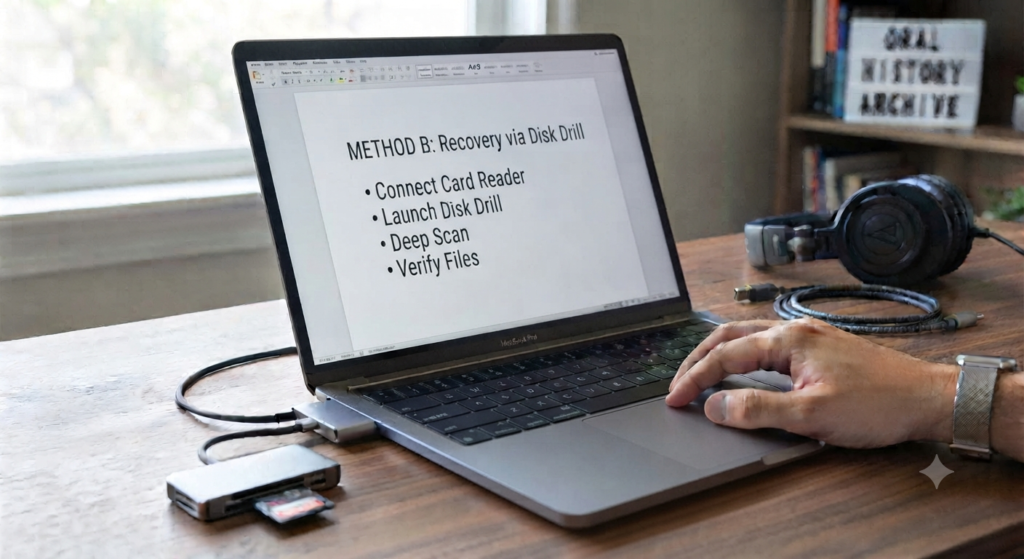
Disk Drill is a powerful, professional-grade tool capable of reconstructing lost data, making it a great alternative if Recuva does not yield the desired results.
- Download and Install: Get the version of Disk Drill compatible with your OS (macOS or Windows).
- Connect the Card: Insert your SD card into your computer using a card reader.
- Select the Drive: Open Disk Drill. You will see a list of connected drives. Locate your SD card in the list.
- Initiate Recovery: Click the “Search for lost data” button next to your SD card.
- Let it Run: Disk Drill will perform various algorithms. Be patient; a “Deep Scan” can take significant time depending on the size and corruption level of the card.
- Review and Save: Once the scan completes, you can filter results by “Audio.” You may see files named FILE001.wav or similar—this is normal. Select your files, click “Recover,” and choose a secure destination folder on your computer.
Important Notes for Successful Recovery
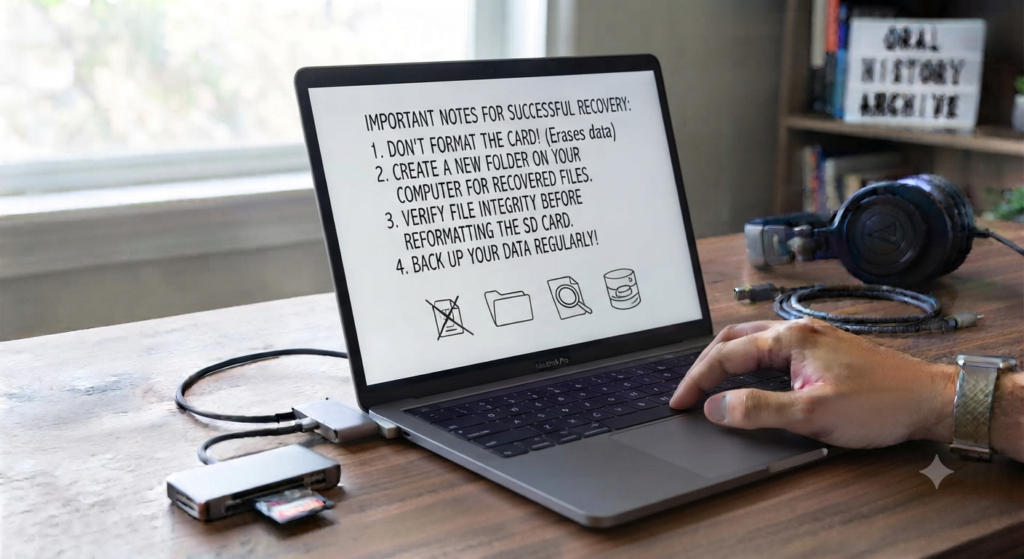
Avoid Formatting: If your computer asks you to format the card, always click “Cancel.” Formatting erases the file index, making professional recovery much more difficult.
Renaming Files: Don’t be alarmed if your files lose their original names (e.g., 20260702_001.wav might become FILE001.wav). The data inside the file remains unchanged.
Verify Files: Always play back your recovered files on your computer to ensure they are complete before you eventually reformat the SD card for future use in your Zoom H1n.