In this blog post I am going to share with you a step by step guide on how to format a microSD card using the Zoom H1n.
Why?
Well, I recently had a chat with an oral historian that is looking to conduct oral history interviews. They got the Zoom H1n audio recorder a few months ago, but they find it intimidating, not user friendly and have yet to begin their interviews.
And so, I’ve decided to write four blog posts to help oral historians who are experiencing similar frustrations using the Zoom H1n. These four blog post are a beginner guide into using the Zoom H1n. These how to guides are all you need to successfully record your oral history interviews.
This, the first blog post, will guide on formatting your microSD card using the Zoom H1n. The next post, will guide you on how to set your recording sampling rate, bit depth and file format on the Zoom H1n. Then, I’ll guide you on how to set the microphone sensitivity on your Zoom H1n. Finally, I’ll show you how to transfer your recorded files to your computer.
Let’s get to it.
Now, the Zoom H1n does not have internal storage and so you will need to first get a microSD card to write to and store your recording. It’s important to note that the Zoom H1n is compatible with microSDHC cards and not microSDXC cards. In other words, any microSD cards that have more than 32GB storage capacity are not compatible with the Zoom H1n.
So get yourself a 32GB microSDHC card and save yourself a lot of frustrations.
If you insert a 64GB or higher capacity card into the Zoom H1n, you will get an invalid SD card error. Another reason as to why you might get this error is if your 32GB microSD card has been formatted using another device.
That’s because the Zoom H1n requires a specific file format and folder structure to write and read files onto the microSD. So, it’s always advisable to first format your microSD card using the Zoom H1n before your first recording – even if the microSD card is new.
Also keep in mind that any information that is on the microSD will be deleted by formatting the cards. So back it up onto your computer before you format the microSD card.
Here is how you format your microSD card using the Zoom H1n.
Step 1: Install Batteries
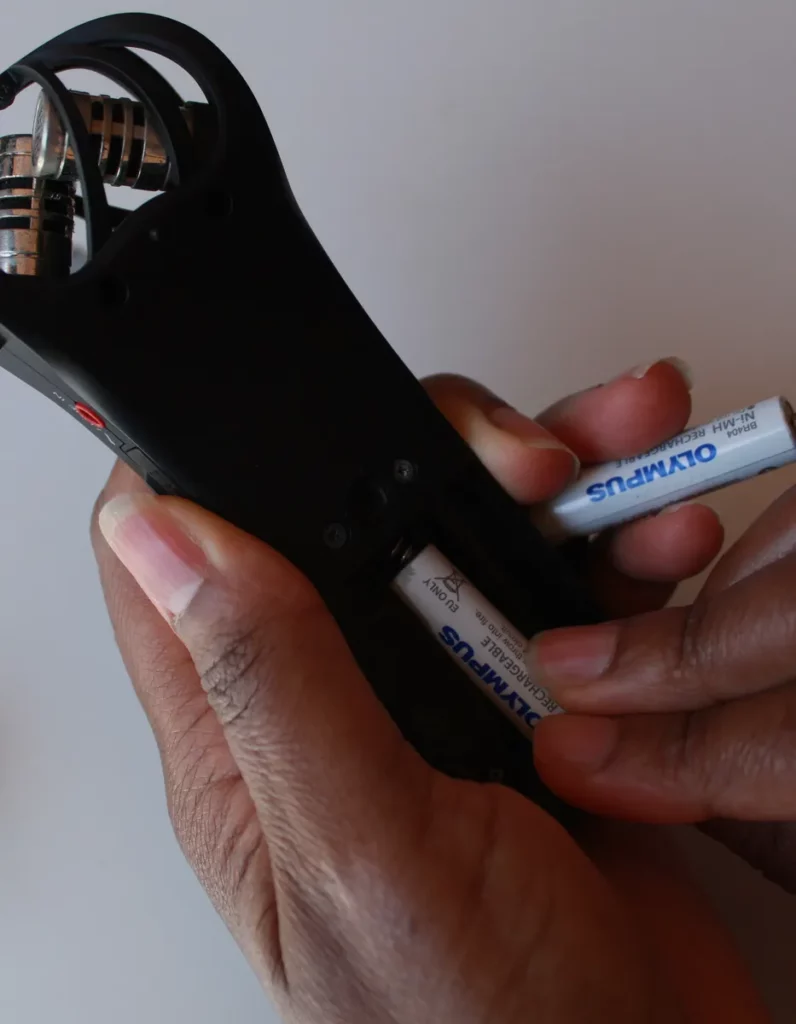
The first step is to power your Zoom H1n. The easiest way is to do this is to remove the cover at the back and insert two size AAA batteries. You can use Alkaline or rechargeable batteries as long as they are AAA. You can also power the Zoom H1n via the USB port. So, your computer, powerbank, or a USB charger will also work if you don’t have AAA batteries.
Once you have ensured that your Zoom H1n has power, turn it OFF.
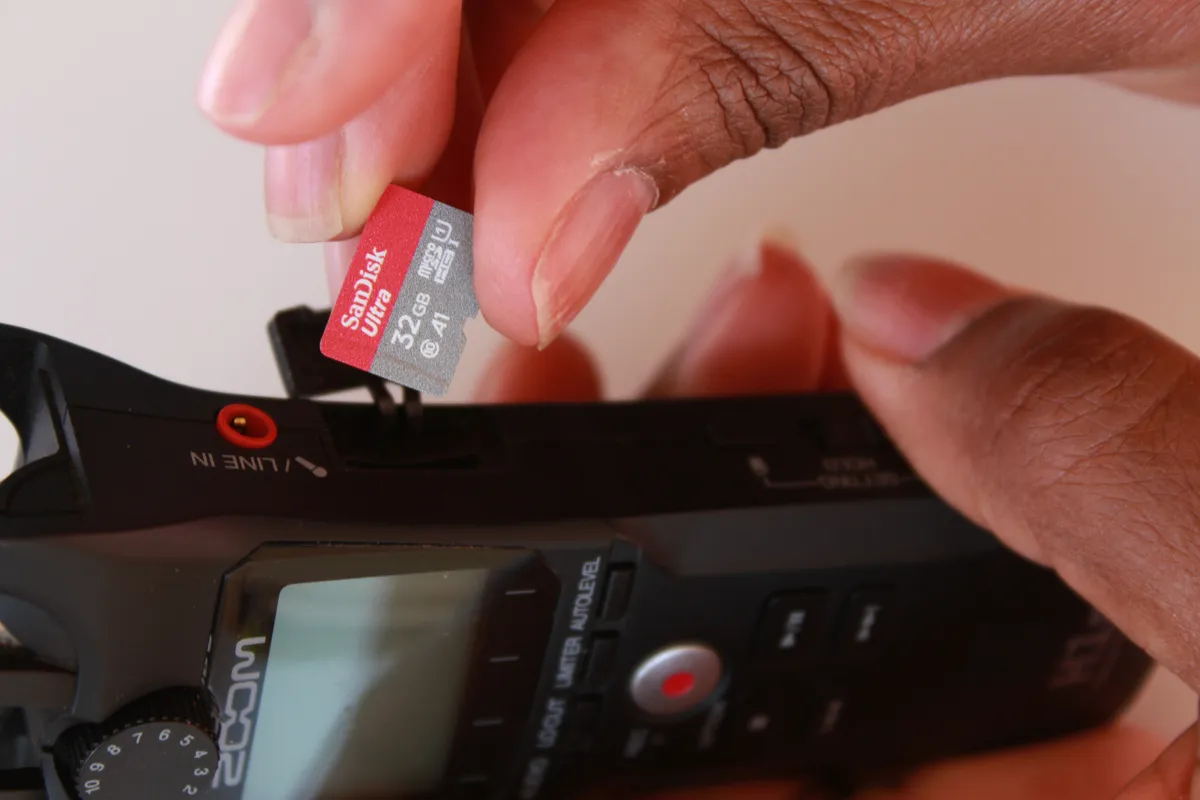
Step 2: Insert the microSD card
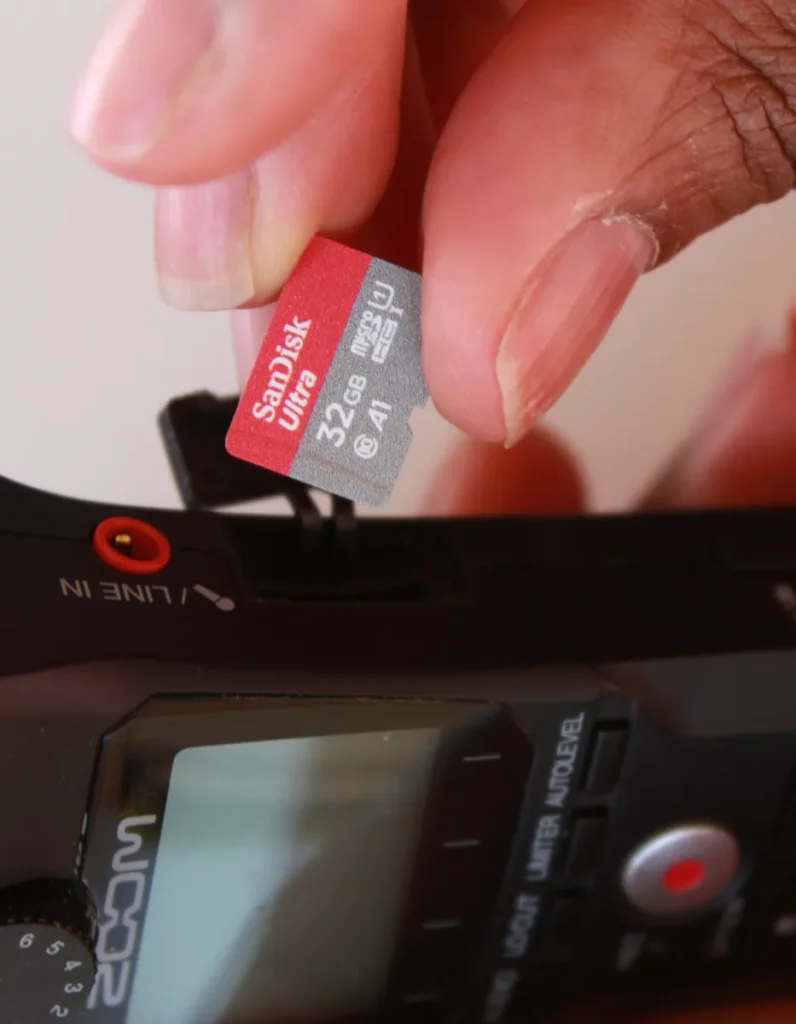
Once you have turned off your Zoom H1n, insert the microSD card. You want to always make sure that you turn off your Zoom H1n before inserting or removing a microSD card. Removing or inserting a microSD card when the recorder is powered can lead to data loss or damage.
The microSD card slot is on the right side of the recorder, below the line in jack. Open the cover, insert the microSD card facing down, you should hear a satisfying click once it’s snapped in. Then close the cover.
Step 3: Hold the Delete Button and Turn on your Zoom H1n
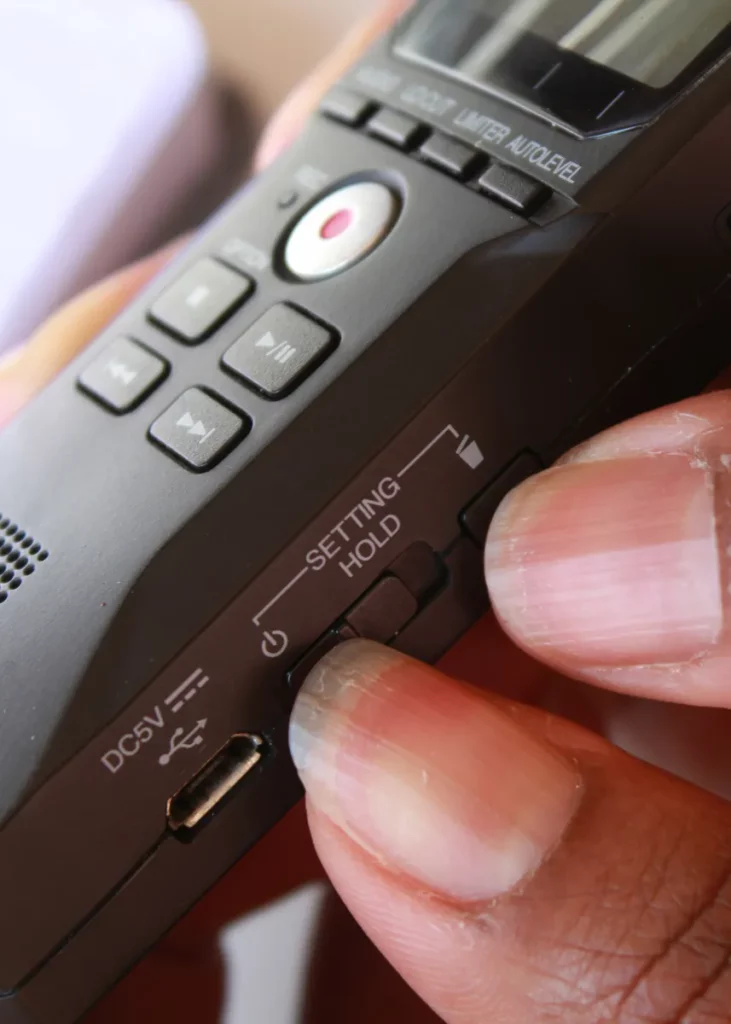
Next, hold the delete button and slide the power button to the left to turn on the Zoom H1n. This opens the setting screen.
Step 4: Open the SD Card Menu
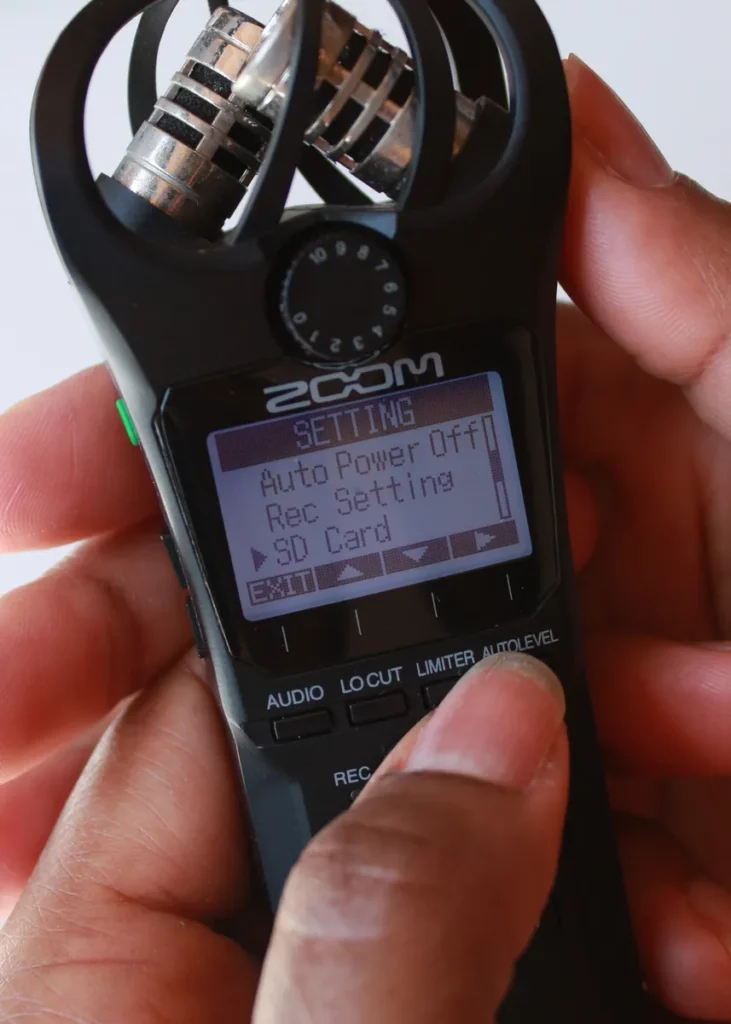
Using the locut/limiter buttons, scroll up and down the setting menu until you get to the SD Card option. Then press the REC button (big, red recording button) to open the SD Card Menu.
Step 5: Select Format
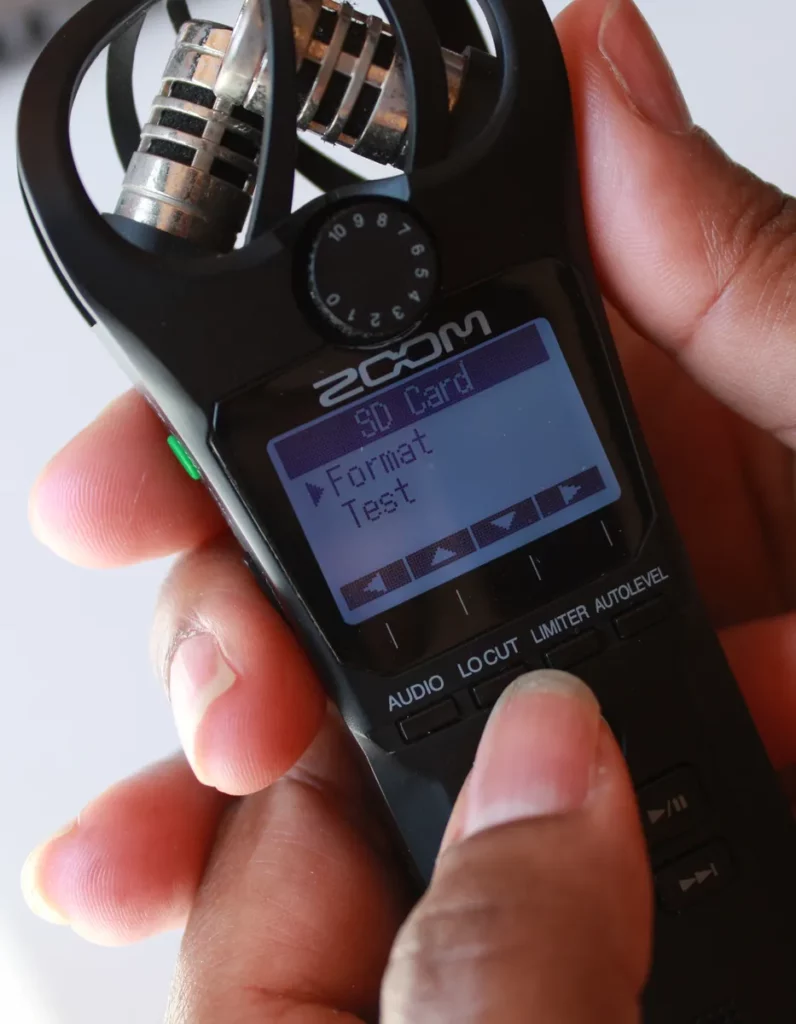
In the SD Card menu, you will find two options, Format or Test. We want to format the microSD card. So select the Format option by pressing the REC button.
Step 6: Confirm Format
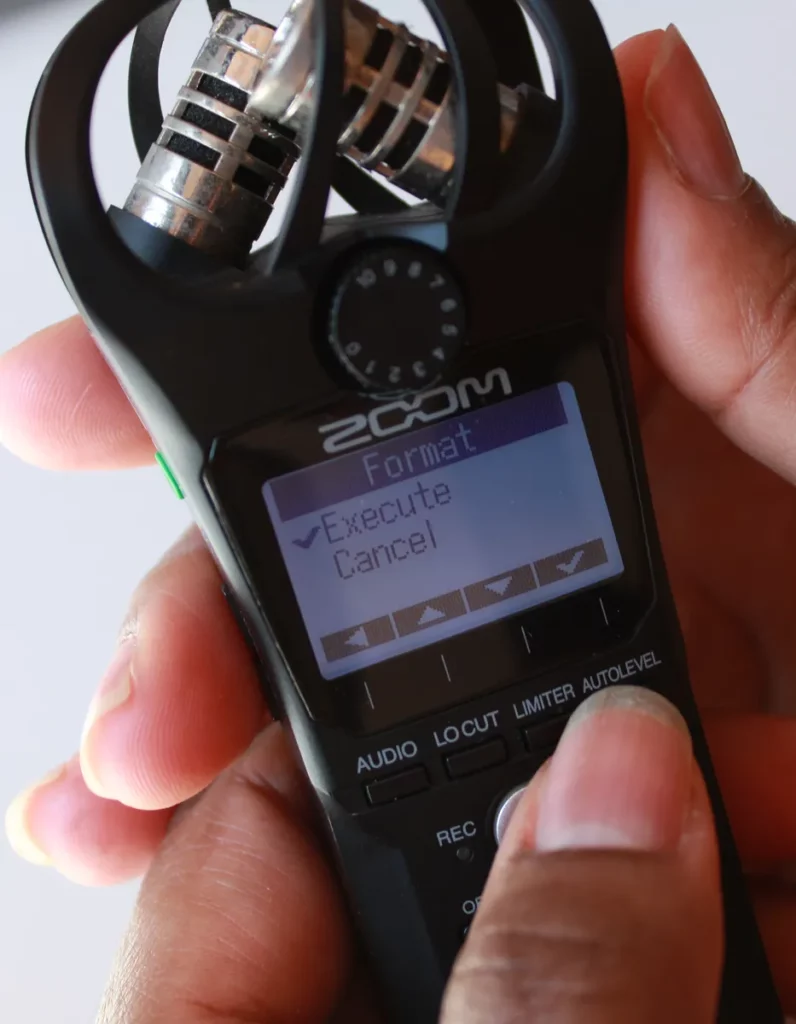
In the Format menu, use the locut/limiter buttons to select Execute. This will confirm that you want to format the microSD card. Press the REC button and the Zoom H1n will start to format your microSD card.
Step 7: Exit Setting Menu

Once the formatting is complete, use the audio button to go back to, and exit from the setting screen.
And that’s it. You have formatted your microSD card using the Zoom H1n. This is first step in getting ready to record your oral history interview. If you have any questions, or suggestions, let me know in the comment section below.
In the next post, I’ll show you how to set the file format, sampling rate, and bit rate of your recorded audio file on the Zoom H1n. See you then and remember to always be kind, stay positive and learn to unwind.